This post contains affiliate links, which means I may earn a small commission at no extra cost to you. I only recommend what I truly use and love!
The “In a Nutshell” Box
| ⏱️ Time Required | 45 Minutes |
| 🌱 Skill Level | Absolute Beginner (No Green Thumb Required) |
| 💰 Estimated Cost | $15–$25 |
| ✨ Core Benefit | Fresh, organic herbs at your fingertips and a beautiful, living view while you wash the dishes |
There Is Something About Fresh Herbs…
Is there anything more satisfying than snipping a bit of fresh basil for your pasta or a sprig of mint for your afternoon tea?
For years, I was that person who bought those plastic clamshells of herbs at the grocery store. You know the ones—they cost $4, you use three leaves, and the rest turns into a sad, brown mush in the back of your fridge by Tuesday.
I always thought “real” gardening was for people with big backyards, expensive raised beds, and secret knowledge about soil pH levels. But here is the truth: Your kitchen windowsill is basically a tiny, sunshine-powered factory waiting to happen.
You don’t need a backyard. You don’t need to dig any holes. And you definitely don’t need a “green thumb.” If you have a window that gets a little light and a few minutes this weekend, you can grow a thriving, fragrant herb garden that makes your kitchen feel like a cozy sanctuary.
Ready to add a little life to your windowsill? Let’s get growing!
What You’ll Need for This Project
The secret to a “no-fail” garden is starting with the right supplies. Here is my “beginner’s toolkit” for indoor herbs:
- 🪴 Three Small Pots (4-6 inch diameter) — I love these classic terracotta pots with saucers (Terracotta is great because it “breathes,” which prevents overwatering!)
- 🌱 Organic Potting Mix — This Bag of Miracle-Gro Indoor Potting Mix is specifically formulated to prevent those tiny gnats.
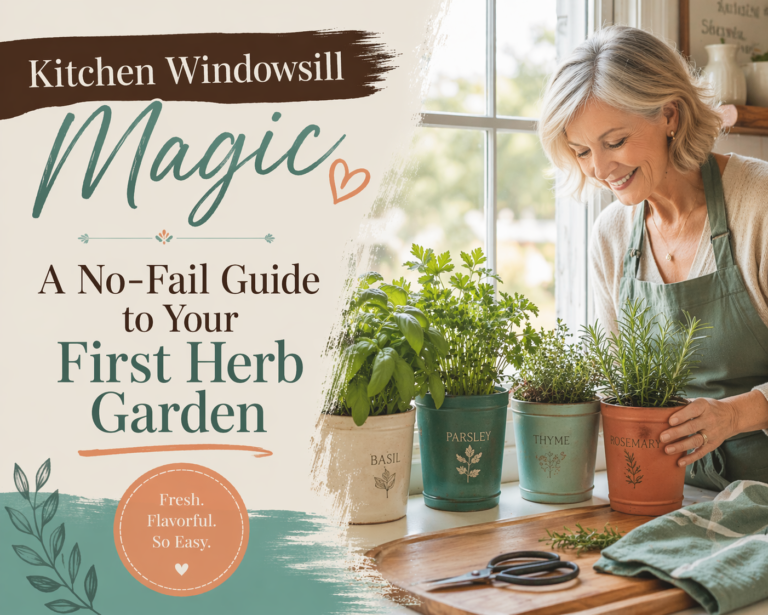
- 🌿 The “Big Three” Herbs (Starter Plants) — I recommend starting with Basil, Mint, and Chives. Buy the small plants at your local nursery or grocery store—don’t start with seeds for your first time!
- 🚰 A Small Watering Can — This long-neck one is adorable and functional (The long neck helps you get under the leaves directly to the soil).
- 🪨 Small Pebbles — For drainage at the bottom of your pots.
Why “Starter Plants” Instead of Seeds?
I’m going to give you some advice that might feel like “cheating,” but I promise it’s the key to staying motivated: Skip the seeds for now.
Starting from seed is rewarding, but it can be finicky. When you’re just starting out, you want the instant gratification of seeing that greenery on your windowsill.
Buy the “starter” plants that are already 3-4 inches tall. It’s like buying a cake mix instead of milling your own flour—you’re still “making” it, you’re just giving yourself a head start!
Step 1: The “Rocks at the Bottom” Trick
⏱️ Time: 5 Minutes
The #1 reason indoor plants die? Overwatering. When water sits at the bottom of the pot with nowhere to go, the roots can “drown.”
To prevent this, place about an inch of small pebbles or gravel at the bottom of your pots. This creates a little reservoir so the soil isn’t sitting in soggy water.
💡 Budget Hack: Don’t want to buy pebbles? Broken pieces of an old terracotta pot or even a few handfuls of clean stones from your driveway work perfectly!
Step 2: Preparing the “New Home” (Potting)
⏱️ Time: 15 Minutes
- Fill your pots about halfway with your indoor potting mix.
- Gently remove your herb plant from its plastic store container. Try not to pull by the stem; instead, squeeze the sides of the plastic and “slide” the plant out.
- If the roots are circling tightly around the bottom, gently “tickle” them with your fingers to loosen them up. This tells the plant, “It’s okay to spread out now!”
- Set the plant in the new pot and fill in around the sides with more soil. Press down lightly—we want the soil firm but not packed like a brick.
Step 3: Finding the “Sweet Spot” (Placement)
⏱️ Time: 2 Minutes
Herbs are like us—they love a good sunbath. Most herbs need about 6 hours of sunlight a day.
A south-facing windowsill is the “Goldilocks” spot (just right), but any window that gets decent bright light will work. If your kitchen is a bit dark, don’t worry! You can just move your pots to a sunnier spot in the house for a few hours in the afternoon.
💡 Pro Tip: Turn your pots a quarter-turn every few days. Plants naturally grow toward the light, and turning them keeps them from getting “lopsided.”
Step 4: The “Finger Test” (Watering)
⏱️ Time: 1 Minute
How much water is too much? Ignore the “schedule” and use your finger.
Stick your finger about an inch into the soil.
- Feels dry? Give it a drink.
- Feels damp? Leave it alone.
Herbs like Basil are dramatic—they will literally “wilt” and droop when they are thirsty. Don’t panic! Give them some water, and they usually perk back up within an hour.
Step 5: Snipping for Success (Harvesting)
⏱️ Time: Ongoing
The best part! To keep your herbs growing bushy and full, you actually need to use them.
When you snip Basil, always cut just above a pair of leaves. This encourages the plant to grow two new stems from that spot. It’s like magic—the more you eat, the more it grows!
The “Oops!” Section — What Went Wrong?
“Why are there tiny flies around my plants?”
Those are fungus gnats. They love wet soil. Let your soil dry out a bit more between waterings, and they usually disappear.
“My Mint is taking over everything!”
Mint is the “bully” of the herb world. It grows very fast. This is why we keep it in its own separate pot—it doesn’t like to share space!
“The leaves are turning yellow.”
This is usually a sign of overwatering or not enough light. Try moving it to a brighter window and holding off on the watering can for a few days.
The Reveal: Your Green View
Take a moment to look at your windowsill. The bright green leaves, the smell of fresh earth, and that beautiful terracotta look. You’ve just brought a little piece of nature into your home.
It makes washing the morning dishes just a little bit more pleasant, doesn’t it?
You’re a Gardener Now!
See? You didn’t need a tractor or a straw hat. You just needed a few pots and the willingness to try. Your kitchen is now a little bit greener, your meals are about to be a little bit tastier, and you did it all yourself.
I’d love to see your little “Window Garden!” Snap a photo and share it in the comments below. Which herb are you most excited to cook with first?
Go ahead — Try This at Home!
Ready for the next project? [Join the “Try This at Home” Newsletter and get my free printable “Watering Tracker” to help you keep your new plants happy!]