This post contains affiliate links, which means I may earn a small commission at no extra cost to you. I only recommend products I truly use and love!
The “In a Nutshell” Box
| ⏱️ Time Required | 3–4 Hours (including drying time) |
| 🎨 Skill Level | Absolute Beginner |
| 💰 Estimated Cost | $20–$35 |
| ✨ Core Benefit | A brand new looking piece of furniture without spending a cent on replacements |
Let’s Be Honest for a Second…
We all have that one piece.
You know the one. The side table from 1994 that came with your first apartment. The nightstand that has seen better days—scratched, scuffed, and wearing a permanent ring from a coffee mug you set down “just for a second” about 300 times. Maybe it was a hand-me-down from your mother-in-law that you never quite loved but felt too guilty to throw away.
Whatever it is, it’s sitting in your home right now, quietly making you a little bit crazy every time you walk past it.
Here’s what I want you to know before you load it into your car and drive it to the donation center: Don’t you dare.
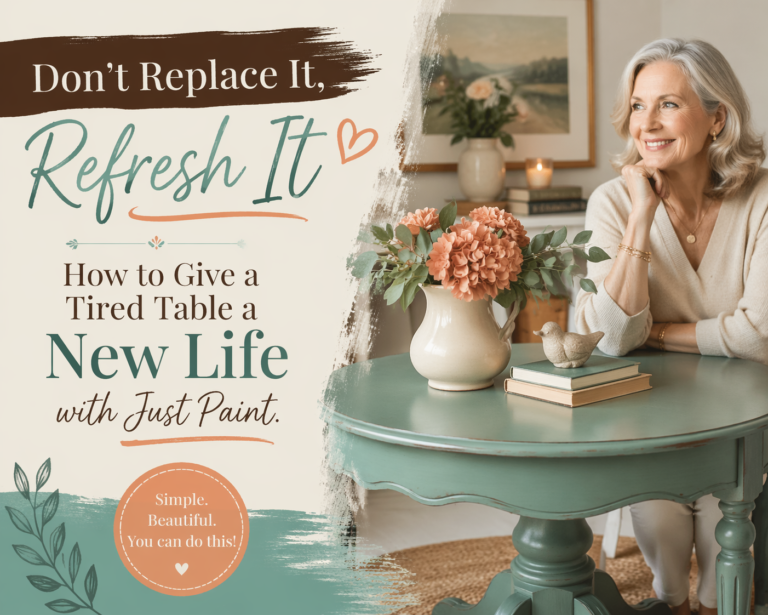
Because here is the truth that the furniture industry does not want you to know — a $20 jar of paint and a Saturday afternoon can completely transform that tired old piece into something you will genuinely love. No workshop. No professional spray equipment. No experience required.
We are talking kitchen floor friendly DIY, friend. If you can paint a wall, you can do this. And honestly? Even if you’ve never painted a wall, you can still do this.
I have done this project in my pajamas with a cup of coffee next to me and a podcast playing in the background. That is the level of stress we are working with here.
Ready? Let’s go.
What You’ll Need for This Project
Here is the beauty of this project — the supply list is short, simple, and affordable. You may already have some of these things at home.
- 🎨 Chalk Paint or Mineral Paint — My favorite is Annie Sloan Chalk Paint in “Old White” (See below for why this type of paint is a game-changer for beginners)
- 🖌️ A 2-inch Synthetic Brush — This affordable one from Purdy is perfect (It does not have to be expensive — a $6 brush works just fine)
- 🧼 Blue Dawn Dish Soap or a TSP Substitute Cleaner and a clean rag
- ✨ Clear Wax or Wipe-On Poly Topcoat — I use this Minwax Wipe-On Poly (It goes on like lotion — so easy!)
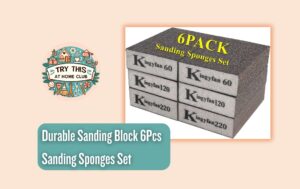
- 📄 One Sheet of 220-Grit Sandpaper — Grab a small pack here (Just in case — you probably won’t need much)
💡 Budget Hack: Use an old yogurt container or a paper plate as your paint palette. No need to buy anything extra!
Why Chalk Paint or Mineral Paint?
This is the secret weapon of beginner furniture painters everywhere, and I want to make sure you understand why before you head to the store.
Regular wall paint or craft paint requires you to sand the furniture down first, apply a primer, then paint. That is three steps before you even get to the fun part.
Chalk paint and mineral paint? They grip onto almost any surface without all that prep work. They are thick, forgiving, and they dry to a beautiful matte finish that looks intentional and stylish — not like you just slapped some paint on a table (even though, technically, that is exactly what we are doing).
It is the ultimate beginner-friendly paint, and it is why I recommend it to every single person who is just starting out.
Step 1: The “Good Scrub” — Cleaning Your Table
⏱️ Time: 10 Minutes
Before we touch a single drop of paint, we need to give this table a proper clean. I know it might look clean, but trust me on this one.
Dirt, dust, and especially furniture polish or wood oils are the enemy of paint adhesion. If we skip this step, our beautiful new paint job will start peeling within weeks, and nobody wants that.
Here is what to do:
- Mix a few drops of Blue Dawn dish soap into a bowl of warm water.
- Dip your rag in, wring it out well, and wipe down every single surface of the table — top, legs, sides, and underneath the edges.
- Rinse with a clean damp cloth and let it dry completely before moving on.
💡 Pro Tip: If you have been using furniture polish on this table for years (hello, Pledge!), scrub a little harder than you think you need to. Those oils build up over time and they will cause your paint to resist sticking. A little extra elbow grease here saves a lot of frustration later.
Step 2: The “Just-in-Case” Sand — Optional but Helpful
⏱️ Time: 5 Minutes
Here is the good news: If you are using chalk paint, you do not have to sand. That is one of the biggest reasons I love it for beginners.
However, if your table has a very shiny, glossy finish — like a lacquered or varnished surface — a quick “scuff” with your 220-grit sandpaper will help the paint grip even better.
Here is what I want you to remember: We are not stripping this table back to bare wood. We are not sanding hard or for a long time. We are simply taking the shine off the surface so the paint has something to hold onto.
Thirty seconds of light, circular rubbing over the surface is genuinely all you need. Wipe away the dust with a dry cloth and you are ready to paint.
💡 Mindset Check: Does the surface feel slightly less shiny and a little rough to the touch? Perfect. That is exactly what we want. You are doing great.
Step 3: The First Coat — The “Ugly Stage”
⏱️ Time: 20–30 Minutes, plus 1–2 hours drying time
Okay, this is where the fun begins! Open your paint, give it a good stir, and load up your brush.
Here is how to apply your first coat:
- Dip your brush about one-third of the way into the paint. You do not need a lot on the brush at once.
- Apply the paint in long, smooth strokes going in the same direction as the wood grain.
- Work in sections — do the top first, then the sides, then the legs.
- Do not go back over areas that are already starting to dry. Just leave them and move on.
Now, I need to prepare you for something important, because this catches a lot of beginners off guard:
⚠️ The “Ugly Stage” is Real — and It is Completely Normal
Your table is going to look terrible after the first coat. I am not going to sugarcoat it.
It will look splotchy. You will see the old wood color peeking through. There will be thin patches and thick patches. You might see some brush strokes. You will probably look at it and think, “What have I done?”
Please do not panic. This is completely, 100% normal with the first coat of chalk paint. Every single furniture painter — beginner and expert alike — goes through the Ugly Stage.
Put your brush down, wash your hands, make yourself a cup of tea, and let it dry for 1–2 hours. I promise you, the second coat is going to change everything.
💡 Pro Tip: Resist the urge to apply a thick, heavy coat to “cover” the old color faster. Thin coats dry better, look smoother, and are less likely to crack or peel over time. Patience is your best tool right now!
Step 4: The Second Coat — The Transformation
⏱️ Time: 20–30 Minutes, plus 1–2 hours drying time
Is your first coat completely dry? Run your finger lightly over the surface — it should feel dry to the touch and slightly chalky.
Good. Now pick up that brush again, because this is where the magic happens.
Apply your second coat exactly the same way as the first — long, smooth strokes, working in sections, not going back over drying areas.
And watch what happens.
That splotchy, uneven first coat? It disappears. The old wood color? Gone. What you are left with is a smooth, even, beautiful finish that looks like it came straight out of a home décor magazine.
This is the moment that every furniture painter lives for. The moment you look at your table and think, “I cannot believe I almost threw this away.”
Let this coat dry fully — another 1–2 hours — before moving on to the final step.
Step 5: Protecting Your Work — The Sealing Step
⏱️ Time: 15 Minutes, plus drying time
You are so close! But please do not skip this step. I know it is tempting to call it done after that gorgeous second coat, but sealing your work is what turns a pretty paint job into a durable, long-lasting finish that can handle real life.
Without a topcoat, your painted table is vulnerable to:
- ☕ Coffee rings and water marks
- 🔑 Scratches from keys or everyday objects
- 👆 Fingerprints and smudges
Here is how to seal it:
Option A — Clear Wax: Using a clean cloth or a wax brush, apply a thin layer of clear furniture wax in small circular motions. Buff it out with a clean cloth until it feels smooth. This gives a soft, beautiful finish.
Option B — Wipe-On Poly: Using a clean cloth, wipe on a thin layer of Minwax Wipe-On Poly in long strokes. Let it dry completely. This gives a slightly more durable finish — great for tables that get a lot of use.
💡 My Recommendation: For a side table or nightstand, wax is beautiful and easy. For a coffee table or dining table that gets heavy daily use, go with the wipe-on poly for extra protection.
Let your sealed table cure for 24 hours before putting anything on it. I know — the hardest part of this whole project is waiting!
The “Oops!” Section — Don’t Worry, We’ve Got You
“What if I can see brush strokes?”
Lightly sand the dried surface with your 220-grit sandpaper, wipe away the dust, and apply one more thin coat. Brush strokes almost always disappear with an extra coat.
“What if the paint looks streaky or uneven?”
Same answer — one more thin coat. Chalk paint is incredibly forgiving. A third coat is not a failure; it is just part of the process.
“What if I absolutely hate the color I chose?”
Here is the most liberating thing I can tell you: It is just paint. If you hate it, you can paint right over it tomorrow with a completely different color. Nothing is permanent. Nothing is ruined. This is supposed to be fun, remember?
“What if the paint is peeling?”
This usually means the surface was not cleaned thoroughly enough before painting. Sand back the peeling area, clean it well, and repaint. Lesson learned for next time — and there will be a next time, because once you start this hobby, you will not be able to stop!
The Big Reveal — Before & After
Before you painted a single stroke, I hope you took a “Before” photo. If you did not — make a mental note for next time, because the Before photo is everything.
There is nothing quite like holding your phone up and flipping between the “Before” and “After” to feel that rush of creative pride. That scratched, tired, unloved piece of furniture is now something you made beautiful with your own two hands.
That feeling? That is exactly why we are here.
I would absolutely love to see your finished table! Share your “After” photo in the comments below, or tag me on Pinterest or Facebook. Your transformation might be exactly the encouragement another woman needs to try her first project.
You Did It!
See? You did not need a carpenter. You did not need a workshop or a garage full of equipment. You just needed a Saturday afternoon, a jar of paint, and a little bit of “why not?”
That tired old table is now a conversation piece. A reflection of your creativity. Proof that with the right guidance and a little courage, you can make your home more beautiful — one project at a time.
What piece of furniture in your house is screaming for a makeover? Tell me in the comments — I’d love to help you pick a color! 👇
Go ahead — Try This at Home!
Loved this project? Save it to your Pinterest board so you can find it again!
📌 [Save This Post to Pinterest]
Want the free printable checklist for this project? [Click here to grab your “Table Refresh Supply List” and step-by-step guide — straight to your inbox!] (This is your email sign-up call to action)