This post contains affiliate links, which means I may earn a small commission at no extra cost to you. I only recommend what I truly use and love!
The “In a Nutshell” Box
| ⏱️ Time Required | 2 Hours |
| 🔨 Skill Level | Absolute Beginner |
| 💰 Estimated Cost | $15–$20 |
| ✨ Core Benefit | The incredible pride of saying “I built this from scratch!” |
“I Could Never Build Anything…”
I used to say that all the time. I would look at beautiful wooden window boxes or rustic centerpieces and think, “That’s lovely, but I don’t own a saw, and I’m certainly not going to start playing with power tools now.”
Woodworking feels like it belongs to people with workshops, safety goggles, and a lot of expensive equipment. But here is a little secret I discovered: Wood is just like a 3D puzzle. If you can measure a line and hammer a nail, you can build.
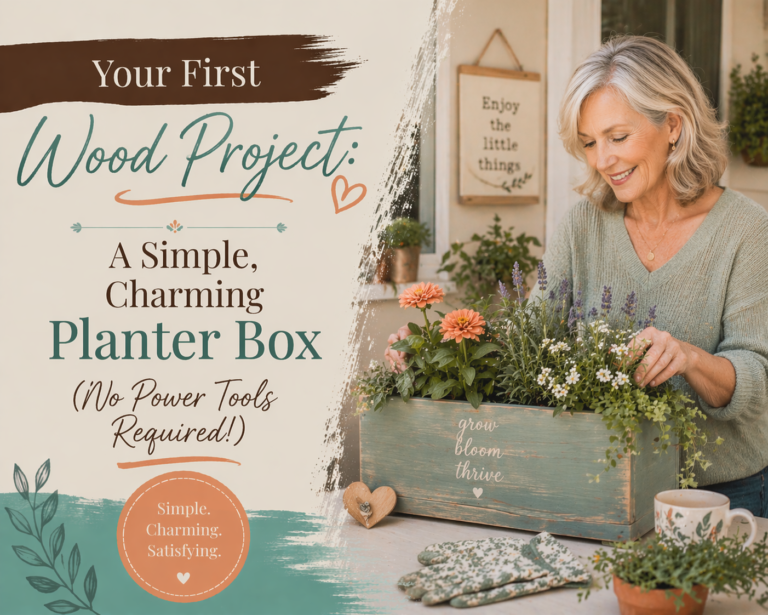
Today, we are going to build a classic, rustic planter box. It’s perfect for those herbs we planted in our last post, or for a row of colorful geraniums on your porch.
And the best part? We aren’t using a single power tool. No drills, no circular saws, no noise, and no intimidation. Just us, some wood, and a little bit of Saturday afternoon magic.
Let’s get our hands busy!
What You’ll Need for This Project
To keep this “No Power Tool” friendly, we are going to use a secret weapon: Pre-cut wood. Most hardware stores (like Home Depot or Lowe’s) will cut your wood for you for free or a very small fee!
The Wood List (Ask the store to cut this for you!):
- One 1″ x 6″ Cedar or Pine board. Ask them to cut it into:
- 2 pieces at 12 inches long (The front and back)
- 2 pieces at 5.5 inches long (The two ends)
- 1 piece at 10.5 inches long (The bottom)
The Tool Kit:
- 🔨 A Lightweight Hammer — This 12oz hammer is perfect for smaller hands
- 📦 1.5-inch Finishing Nails — These “trim nails” are thin and won’t split the wood
- 🪵 Wood Glue — Gorilla Wood Glue is my absolute favorite
- 📏 A Tape Measure — A 16ft tape is plenty for home projects
- 🎨 Sandpaper or a Sanding Block — (Medium 120-grit)
Step 1: The “Smooth Start” (Sanding)
⏱️ Time: 10 Minutes
Even though the store cut the wood for you, the edges might be a little fuzzy or sharp.
Take your sanding block and lightly rub the edges of each piece of wood. We aren’t trying to change the shape; we just want to make sure there are no splinters.
💡 Pro Tip: Cedar wood smells incredible when you sand it! Take a second to enjoy that “workshop” aroma. You’re officially a builder now.
Step 2: The “Glue & Tack” Method
⏱️ Time: 30 Minutes
We aren’t just going to nail the wood; we’re going to glue it first. Wood glue is incredibly strong—once it dries, the glue bond is actually stronger than the wood itself!
- Stand your bottom piece (the 10.5″ one) flat on your work surface.
- Run a thin line of glue along the long edge.
- Place your front piece (12″) against that edge.
- While holding it steady (or leaning it against a heavy book), tap three nails through the front board into the edge of the bottom board.
Don’t worry if it’s a little wiggly at first! Once those nails catch, it will steady right up.
Step 3: Squaring the Ends
⏱️ Time: 20 Minutes
Now, we’re going to add the “end caps” (the 5.5″ pieces).
- Apply glue to the short edges of your bottom board and the inside edges of your front board.
- Slide the end piece into place. It should fit snugly.
- Nail through the front board into the end piece, and then a couple of nails through the end piece into the bottom.
Repeat on the other side. You now have a “U” shape!
Step 4: Closing the Box
⏱️ Time: 15 Minutes
Finally, apply glue to all the remaining exposed edges and place your back piece (the remaining 12″ board) on top.
Nail it into the bottom and the two end pieces.
💡 Confidence Booster: If your nails go in a little crooked, don’t sweat it! It adds to the “rustic, handmade” charm. If one goes really wild, just pull it out with the back of your hammer and try again. No big deal!
Step 5: The Finishing Touch
⏱️ Time: 15 Minutes
Give the whole box one last light sand to even out any corners.
Now you have a choice:
- Leave it natural: Cedar turns a beautiful silver-grey over time if left outside.
- Stain it: To give it a rich, dark wood look.
- Paint it: Use some of that leftover paint from our Table Refresh project!
The “Oops!” Section — Troubleshooting
“The wood split when I hammered the nail!”
This happens when the nail is too close to the very edge. Try to stay at least half an inch away from the corners. If it splits, just add a little extra glue into the crack, squeeze it shut, and let it dry.
“My box is a little wobbly.”
Check the bottom! Sometimes we don’t get the boards perfectly flush. A quick sanding on the high corner usually fixes a wobble in seconds.
“I missed the wood and hammered my thumb!”
Welcome to the club! We’ve all done it. Ice it, grab a band-aid, and remember: every scar is a DIY story.
The Big Reveal: From Boards to Box
Step back and look at what you just did. Two hours ago, you had a pile of loose boards. Now, you have a functional, beautiful planter box that you built.
Take a photo of it. Text it to your kids or your friends. Seriously! You should be incredibly proud. Most people talk about building things—you actually did it.
You Are a Maker!
You didn’t need a table saw. You didn’t need a workshop. You just needed a little bit of bravery and a hammer. Now that you know how a basic box goes together, the possibilities are endless. Trays, birdhouses, simple shelves… they are all just versions of this same “wood puzzle.”
What are you going to put in your new planter? Herbs, flowers, or maybe use it as a centerpiece for your dining table? Tell me in the comments! 👇
Go ahead — Try This at Home!
Ready for more handy tips? [Download my free “Hardware Store Cheat Sheet” so you know exactly what to ask for the next time you walk into the lumber aisle!]