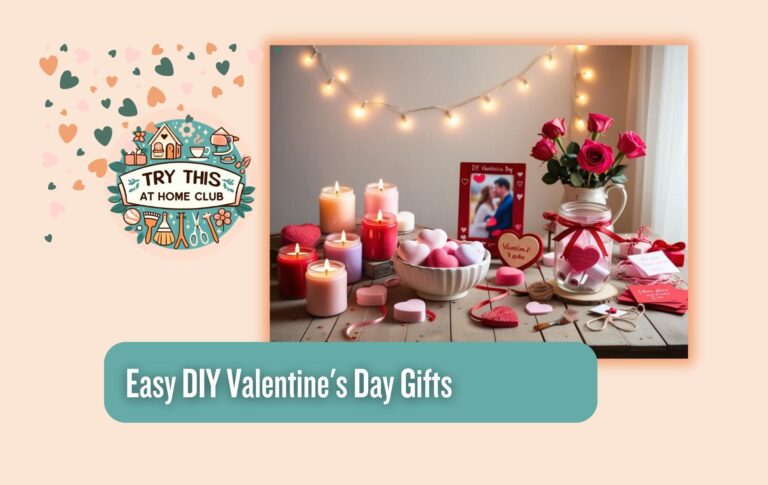
Valentine’s Day is the perfect occasion to express love and appreciation through heartfelt, handmade gifts. For beginner DIY enthusiasts, creating something special doesn’t have to be complicated or costly. In this article, we’ll explore 7 easy DIY Valentine’s Day gifts for beginners that are fun, affordable, and immensely gratifying to make.
Table of Contents
1. Personalized Photo Frame
Materials Needed:
- Plain wooden frame
- Acrylic paints
- Paintbrushes
- Decorative elements (e.g., beads, stickers)
- Glue
Instructions:
- Paint the wooden frame in your desired colors and let it dry.
- Add decorative elements like beads or stickers to enhance its appearance.
- Insert a memorable photo that holds significance for you and the recipient.
Why It’s Great: A personalized frame adds a sentimental touch to cherished memories, making it a heartfelt gift.
2. Handmade Scented Candles
Materials Needed:
- Soy wax
- Essential oils (e.g., lavender, vanilla)
- Candle wicks
- Heat-resistant containers (e.g., mason jars)
- Double boiler
Instructions:
- Melt the soy wax using a double boiler.
- Once melted, mix in a few drops of your chosen essential oil.
- Place the candle wick in the center of the container.
- Pour the melted wax into the container, holding the wick in place.
- Allow the candle to cool and solidify completely.
Why It’s Great: Customized scents create a cozy atmosphere, making it a thoughtful and aromatic gift.
3. Heart-Shaped Bath Bombs
Materials Needed:
- Baking soda
- Citric acid
- Epsom salts
- Cornstarch
- Essential oils
- Food coloring
- Heart-shaped molds
Instructions:
- In a bowl, combine 1 cup baking soda, 1/2 cup citric acid, 1/2 cup Epsom salts, and 1/2 cup cornstarch.
- In a separate bowl, mix a few drops of essential oil and food coloring with a small amount of water.
- Gradually add the wet mixture to the dry ingredients, stirring continuously until it resembles damp sand.
- Press the mixture firmly into heart-shaped molds.
- Let them dry for at least 24 hours before removing from molds.
Why It’s Great: Bath bombs offer a luxurious spa experience at home, providing relaxation and indulgence.
4. Customized Tote Bags
Materials Needed:
- Plain canvas tote
- Fabric paints or markers
- Stencils (optional)
Instructions:
- Lay the tote bag flat on a protected surface.
- Use fabric paints or markers to create your design; stencils can help with precision.
- Allow the paint to dry completely before using the bag.
Why It’s Great: Functional and personalized, a customized tote is perfect for daily use and showcases your creativity.
5. DIY Sugar Scrub
Materials Needed:
- 1 cup granulated sugar
- 1/2 cup coconut oil
- Essential oils
- Food coloring (optional)
- Small jars
Instructions:
- Melt the coconut oil if it’s solid.
- In a bowl, mix the sugar and coconut oil until well combined.
- Add a few drops of essential oil and food coloring if desired; mix thoroughly.
- Transfer the mixture into small jars and seal tightly.
Why It’s Great: Exfoliating and moisturizing, this sugar scrub is a pampering treat for the skin.
6. Fabric Heart Coasters
Materials Needed:
- Fabric scraps
- Needle and thread or sewing machine
- Stuffing material (e.g., cotton batting)
Instructions:
- Cut two identical heart shapes from the fabric.
- Place them together with the patterned sides facing inward.
- Sew around the edges, leaving a small opening.
- Turn the heart right-side out through the opening.
- Insert a small amount of stuffing to give it a slight puff.
- Sew the opening closed.
Why It’s Great: These coasters protect surfaces while adding a handmade touch to home decor.
7. Painted Mason Jar Vases
Materials Needed:
- Mason jars
- Acrylic paint
- Paintbrushes
- Ribbon or twine
*Instructions:
- Clean and Prep the Mason Jars – Wash the mason jars thoroughly and dry them completely to ensure the paint adheres properly.
- Apply the First Coat of Paint – Using a paintbrush or foam brush, apply a thin layer of acrylic paint to the outside of the jar. Let it dry for about 20–30 minutes.
- Add a Second Coat (If Needed) – For a more opaque look, apply a second coat of paint. You can also create ombré effects or patterns using different shades.
- Create Designs (Optional) – Use painter’s tape to create stripes or stencils for hearts, polka dots, or other Valentine’s-themed designs. Carefully remove the tape once the paint is dry.
- Seal the Paint (Optional) – If you want your design to last longer, spray a clear sealant over the painted surface and let it dry completely.
- Decorate with Ribbon or Twine – Tie a piece of ribbon or twine around the jar’s neck for a charming finishing touch. You can also attach a small gift tag with a heartfelt message.
- Use as a Vase or Candle Holder – Fill the jar with fresh or dried flowers, or place a tea light or battery-operated candle inside for a cozy glow.
This simple and affordable DIY Valentine’s Day gift makes for a beautiful handmade decoration, perfect for gifting or brightening up your own space!
Creating DIY Valentine’s Day gifts is a fun, easy, and affordable way to show your love while embracing your creativity. Whether you choose to make personalized photo frames, handmade scented candles, or heart-shaped bath bombs, each of these easy DIY Valentine’s Day gifts for beginners adds a unique and heartfelt touch to the holiday. Plus, crafting your own gifts allows you to customize them to suit your recipient’s personality, making the gesture even more meaningful. This Valentine’s Day, skip the store-bought presents and try one of these DIY gift ideas to make something truly special. Happy crafting!