Candle making at home is not just a relaxing, creative activity—it’s also an easy and affordable DIY project that brings warmth and personalization to your space. Whether you’re looking to create custom candles for your home or to give as thoughtful gifts, the process is straightforward and highly customizable. In this guide, we’ll walk you through the step-by-step process of making candles at home, highlighting the materials you’ll need, the techniques to use, and tips for personalizing your creations.
Let’s get started with your candle-making journey!
Table of Contents
Why Make Your Own Candles?
1. Affordable and Creative Customization
One of the biggest advantages of making candles at home is how much more affordable it can be compared to buying high-end candles. When making your own, you control every aspect of the process—choosing the scent, color, size, and type of wax, which allows you to create something that perfectly matches your tastes or decor. This is especially great for seasonal or themed candles, where you can experiment with fragrances and colors to match holidays or personal preferences.
2. Personal Touch and Unique Gifts
There’s something extra special about handmade candles—they carry a personal touch that store-bought candles simply can’t replicate. Homemade candles make wonderful gifts for birthdays, holidays, or just because. You can tailor them to suit the recipient’s preferences by choosing their favorite scents or even crafting the candles in a jar or container that reflects their personality.
3. Easy and Relaxing DIY Project
Candle making is beginner-friendly and easy to get started with. The steps are straightforward, and it doesn’t require expensive equipment. Plus, it’s a soothing, mindful activity that allows you to focus on the process, leaving you with beautiful, functional results at the end. Whether you’re making candles alone or with friends, it’s a rewarding way to spend an afternoon.
Materials and Tools You’ll Need
Before you begin, gather all your materials. Here’s what you’ll need for your DIY candle-making project:
- Candle wax (soy, beeswax, or paraffin)
- Candle wicks
- Essential oils or fragrance oils (for scent)
- Candle dye (optional for color)
- Containers (glass jars, tins, or other heat-resistant containers)
- Double boiler (or a heat-safe bowl and saucepan)
- Thermometer (to monitor wax temperature)
- Stirring stick
- Wick centering device (optional but useful for keeping wicks straight)
Most of these items are easily found online or at local craft stores, and the overall cost will likely be much lower than buying a high-end candle from a boutique.
Step-by-Step Guide to Make Candles at Home
Step 1: Prepare Your Workspace and Materials
Candle making can get a little messy, so it’s important to prepare your workspace before you begin. Cover your table or countertop with newspaper or a plastic sheet to protect it from wax spills. Have all your materials within reach so you won’t need to scramble for anything mid-process. Safety is also key—make sure your workspace is well-ventilated and that you’re working away from any flammable items.
Step 2: Choose and Measure Your Wax
The type of wax you choose will affect the outcome of your candle. Soy wax is popular for being eco-friendly and giving a clean burn. Beeswax produces a sweet, natural aroma without any added fragrance, and paraffin wax is a traditional option that holds scent well.
To figure out how much wax you’ll need, calculate based on the size of your container. As a general rule, you’ll need about twice as much wax as the volume of your container. For example, if your container holds 8 ounces, you’ll need 16 ounces of wax. Measuring your wax properly is essential for ensuring that you don’t run out mid-project.
Step 3: Melt the Wax
Next, it’s time to melt your wax. The best method for this is using a double boiler. If you don’t have one, you can improvise by placing a heat-safe bowl over a saucepan of boiling water. Stir the wax slowly as it melts to prevent it from sticking to the sides of the pot.
Make sure to monitor the temperature using a thermometer. Most waxes should melt between 160°F and 180°F (71°C and 82°C). Be careful not to overheat, as wax that gets too hot can discolor or lose its fragrance. Once the wax has fully melted, take it off the heat.
Step 4: Add Scent and Color
Here’s the fun part—adding fragrance and color to your candles. Once your wax has melted and cooled slightly (around 140°F to 150°F), it’s time to add your essential oils or fragrance oils. The amount you add depends on how strong you want the scent, but a good rule of thumb is to use 1 ounce of fragrance oil for every pound of wax. Stir well to ensure the fragrance is evenly distributed.
If you want to add color, you can use candle dye. Start with a small amount and gradually add more until you reach the desired shade. Liquid dyes, color blocks, or chips all work well for this step.
Step 5: Prepare and Insert the Wick
Before pouring your wax, it’s important to get your wick set up. Attach the wick to the bottom of your container using either a hot glue gun or a pre-attached adhesive sticker. Then, use a wick centering tool to keep the wick in place while you pour the wax. If you don’t have one, you can DIY a solution by balancing a pencil or chopstick across the container to hold the wick upright.
Step 6: Pour the Wax into the Container
Carefully and slowly pour your melted wax into the prepared container, leaving a small gap at the top (about ½ inch). Pouring slowly helps to avoid creating air bubbles. After you’ve filled the container, let it sit undisturbed so the wax can cool and set properly. The wax will solidify over the next few hours.
Step 7: Let the Candles Cool
Let your candles cool at room temperature for several hours or overnight. Avoid placing them in the refrigerator, as rapid cooling can cause the wax to crack. Once cooled, inspect the top of the candle. If it’s uneven or has sunken spots, you can reheat a small amount of wax and pour it over the top to create a smooth surface.
Step 8: Trim the Wick and Enjoy Your Candle
Finally, once your candle has completely cooled and set, trim the wick to about ¼ inch. This helps ensure a clean burn without excessive soot or flickering flames. Now your candle is ready to be lit! Enjoy the warm, personalized glow of your handmade candle.
Tips for Personalizing Your Candles
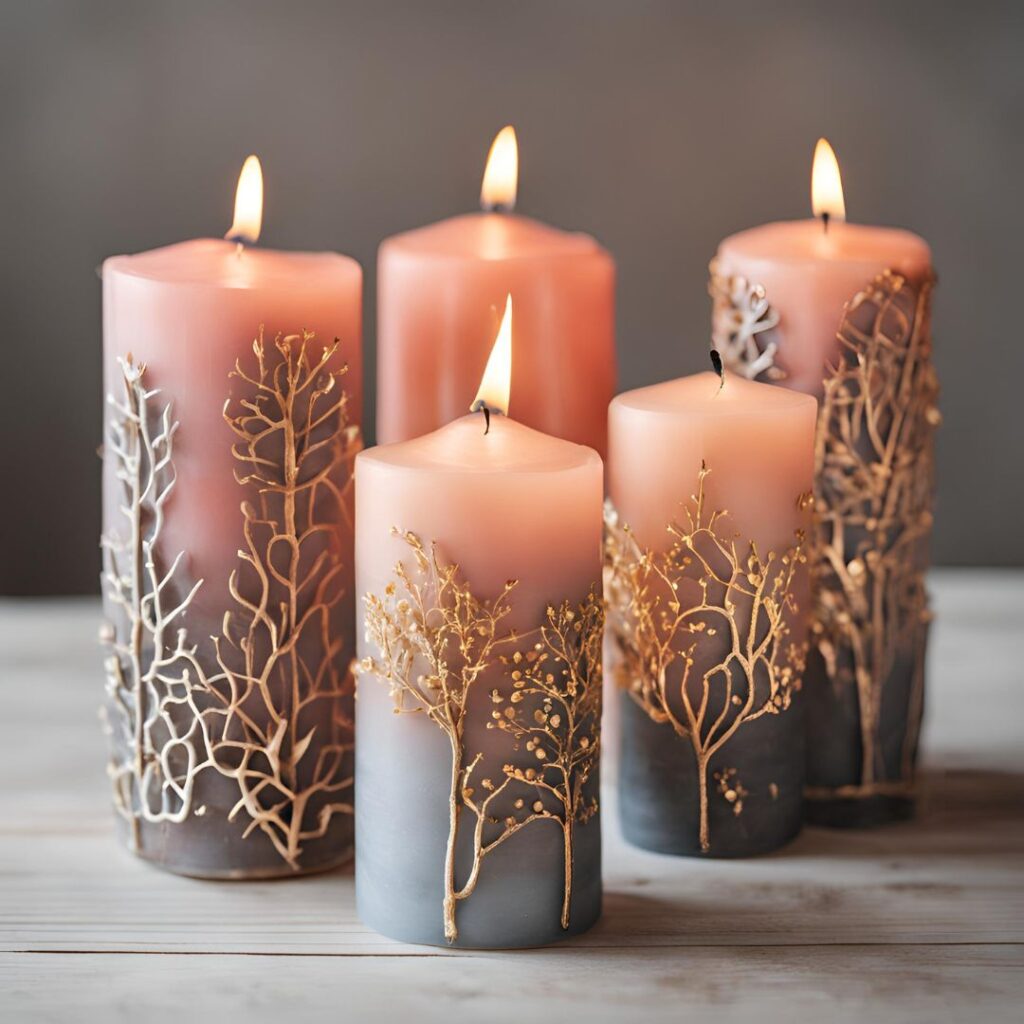
1. Experiment with Scents and Colors
One of the best parts of DIY candle making is the ability to customize. Try blending different essential oils to create unique scent combinations—think lavender and vanilla for a calming vibe, or citrus and rosemary for a fresh, invigorating scent.
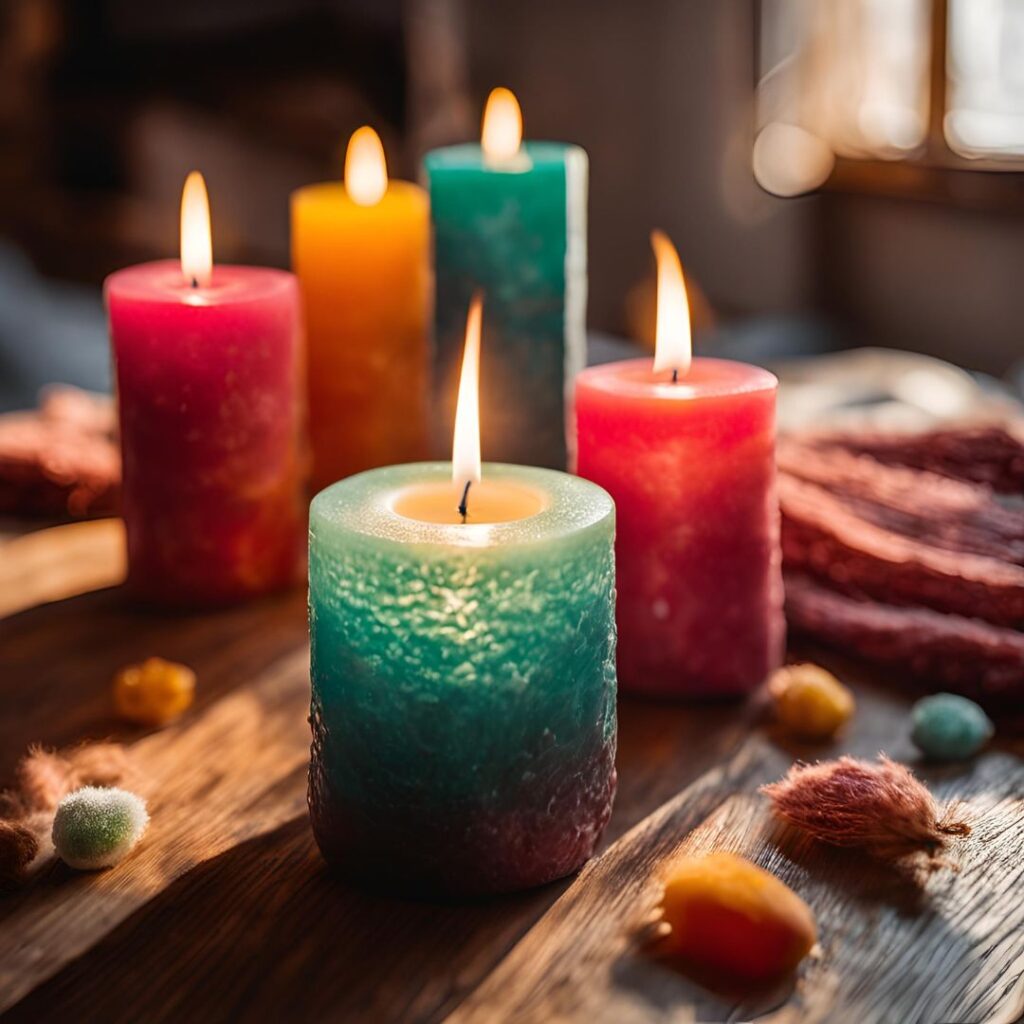
2. Create Layered Candles
For a visually interesting effect, try making layered candles by pouring different colors of wax in stages. Let each layer cool before adding the next. This technique is perfect for creating multi-colored candles that add a pop of fun to any space.
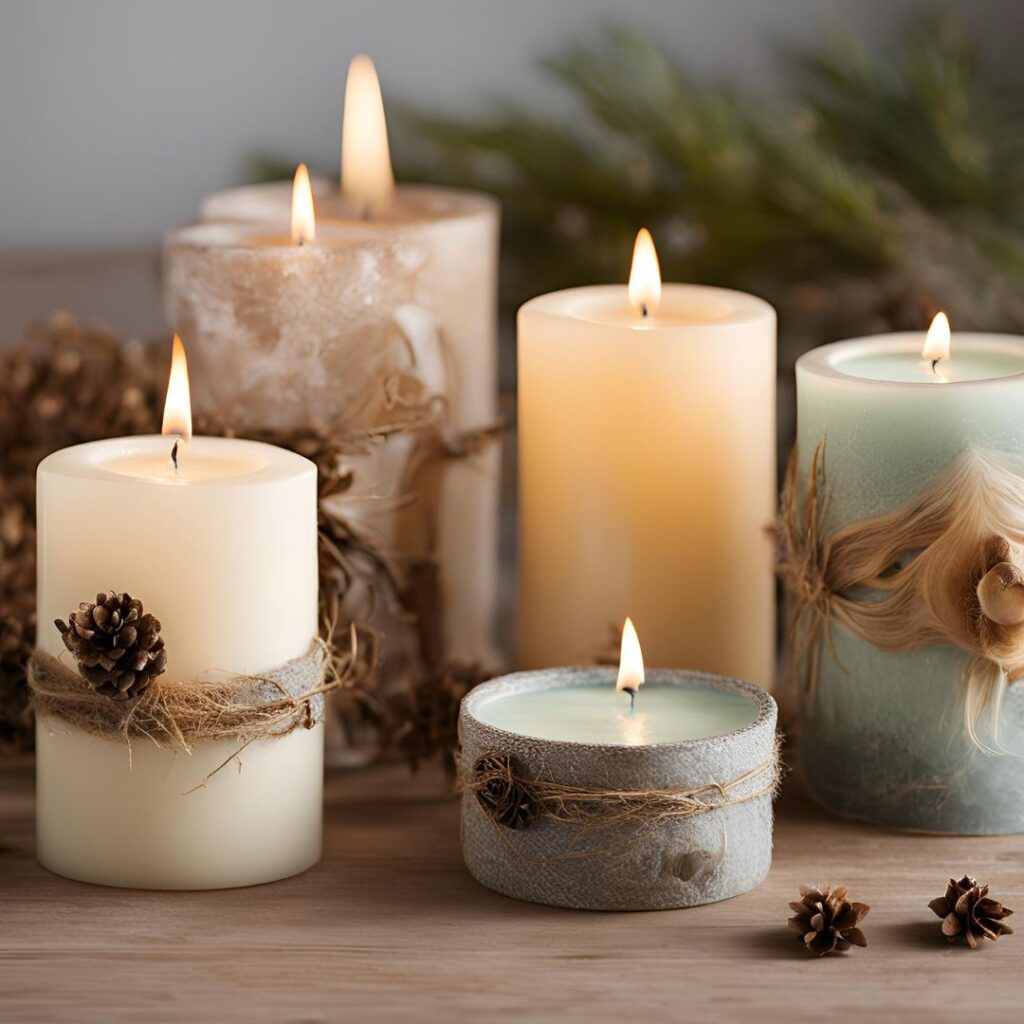
3. Use Unique Containers
Consider using vintage teacups, mason jars, or decorative tins as candle containers. These unique containers can add character to your candles and make them stand out as part of your home decor.
Common Candle-Making Mistakes to Avoid
1. Overheating the Wax
Wax that gets too hot can discolor and lose its scent. Always keep an eye on the thermometer and remove the wax from the heat once it reaches the recommended temperature.
2. Not Securing the Wick Properly
If the wick isn’t centered or falls over, your candle will burn unevenly. Make sure to secure it in place before pouring the wax and use a centering tool to keep it straight.
3. Adding Fragrance at the Wrong Time
Adding fragrance too early can cause the oils to evaporate and weaken the scent. Always add your fragrance once the wax has cooled to about 140°F to ensure a strong scent throw.
Why Candle Making is Gratifying
1. A Creative and Calming DIY
Candle making is not only creative but also therapeutic. The process requires focus and care, which can make it a calming and enjoyable experience. Plus, the ability to customize each candle adds an extra layer of satisfaction.
2. A Practical and Beautiful Result
What’s more satisfying than creating something beautiful and functional? Handmade candles add warmth and style to your home while being practical for everyday use.
3. Long-Term Savings
Once you have the basic supplies, candle making becomes an affordable hobby. You can continue to make candles for a fraction of the price of store-bought candles, and you’ll have the added benefit of knowing exactly what ingredients are going into your creations.
Conclusion
Making candles at home is a rewarding, affordable, and creative DIY project. Whether you’re doing it for relaxation or to create a personal touch for your home, the process is simple and fun. Follow this guide and start crafting your own custom candles today. Share your creations, tips, or experiences in the comments below, and don’t forget to explore more beginner-friendly DIY projects on our blog!


[…] Want top learn how to make your own candles? Read our Step-by-step guide to make candles at home […]