Are you looking for a simple yet satisfying way to personalize your home décor or furniture? Stenciling on wood is one of the easiest, most affordable, and rewarding DIY projects out there! Whether you’re a beginner or have dabbled in other DIY projects before, this beginner’s guide will walk you through how to stencil on wood step-by-step, so you can create beautiful, custom pieces for your home.
In this guide, we’ll cover everything you need to know—from gathering materials and preparing your wood surface to applying the stencil and adding those perfect finishing touches. Let’s dive in and make DIY stenciling fun, easy, affordable, and, most importantly, gratifying!
Table of Contents
Materials You’ll Need for Stenciling on Wood
Before you start stenciling, it’s important to gather all the necessary materials. Fortunately, DIY stenciling is affordable, and most of the supplies are easy to find.
Essential Tools and Supplies
Here’s a list of everything you’ll need for a successful stenciling project:
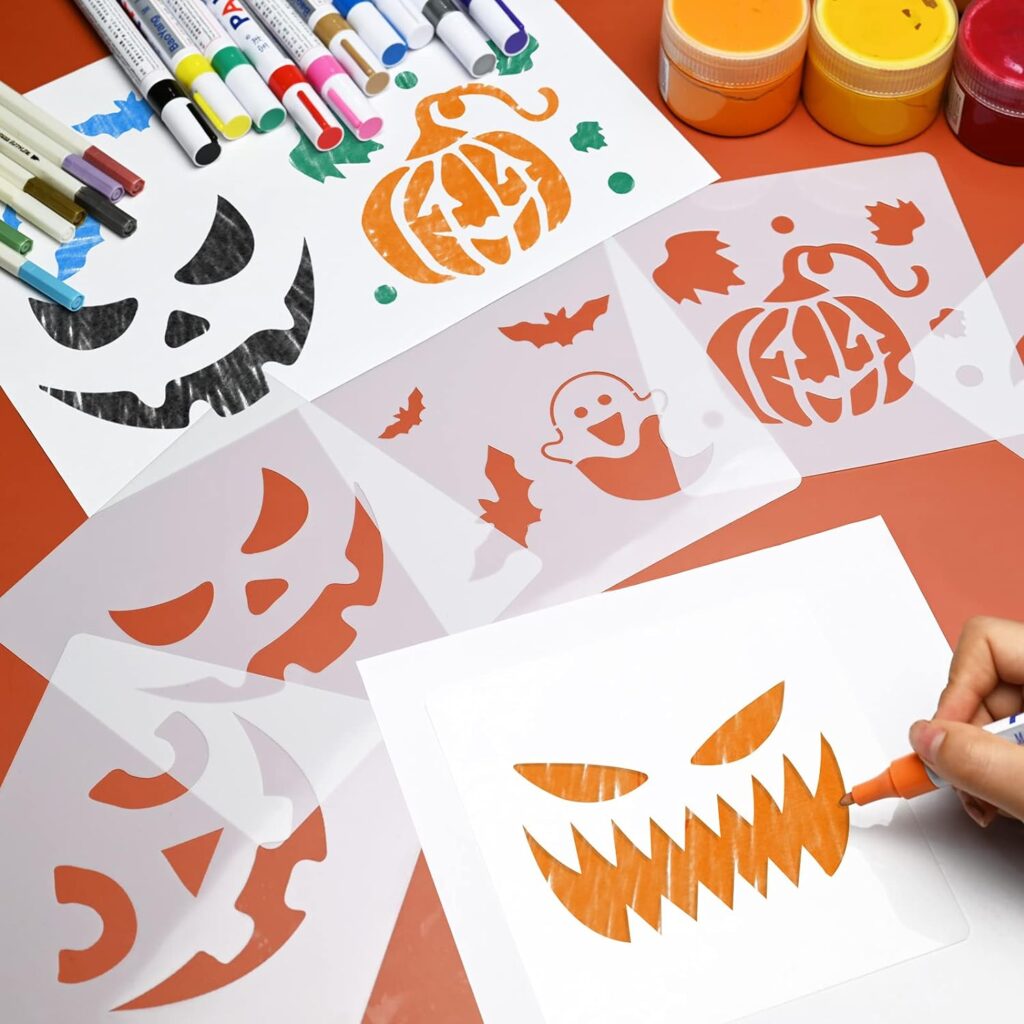
- Stencils: You can purchase pre-made stencils online or at craft stores, or you can create custom designs using stencil paper.
- Painter’s Tape: This helps keep the stencil in place and prevents it from shifting while you work.
- Foam Brush or Stencil Brush: A foam or stencil brush is ideal for dabbing the paint onto your wood surface.
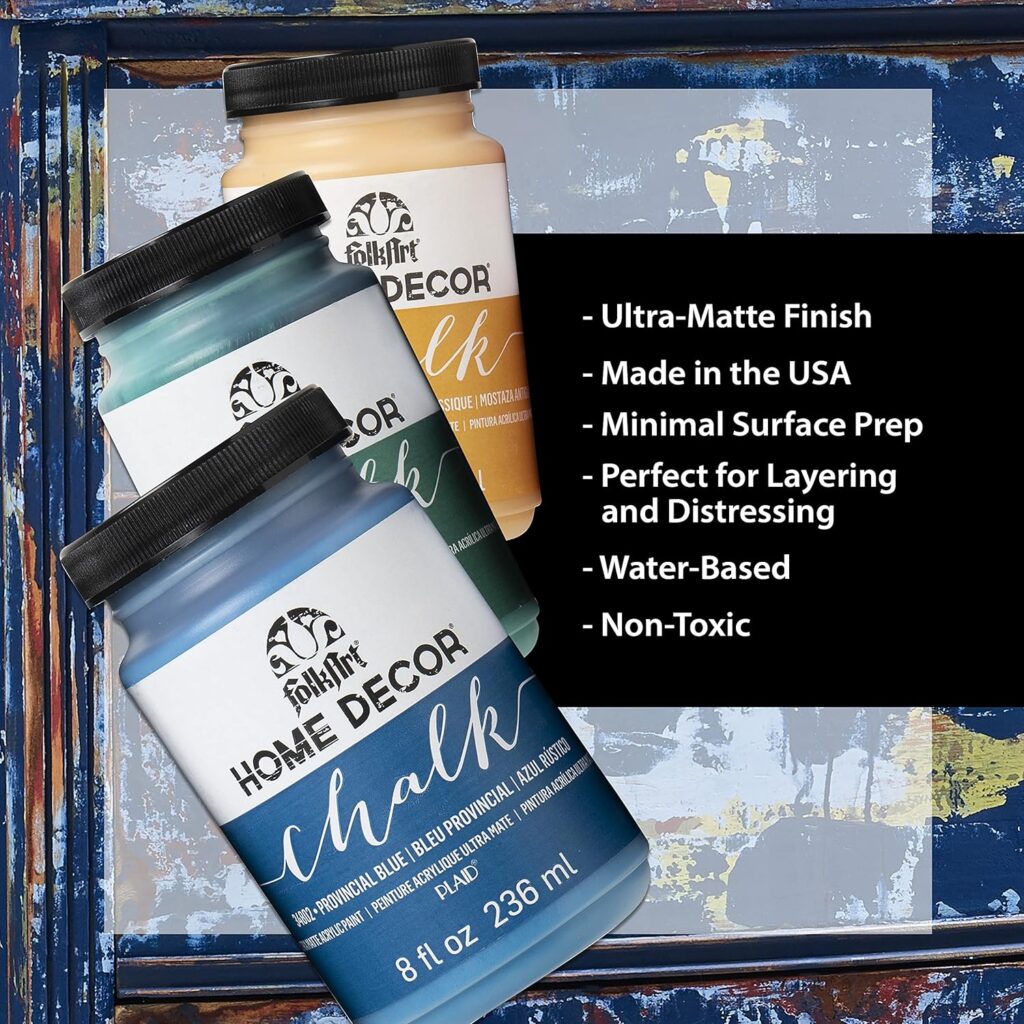
- Acrylic or Chalk Paint: Choose colors that match your desired design. Acrylic paint works well on wood, while chalk paint is great for creating a matte finish.
- Sandpaper (optional): If your wood surface is rough, sandpaper helps smooth it out before stenciling.
- Wood Sealer (optional): To protect your design, especially if the piece will be used outdoors or in high-traffic areas, applying a wood sealer is a great idea.
Explore Products on Amazon (Paid Links)

Budget-Friendly Tips for Gathering Materials
- DIY Stencils: If you want to save money, you can create your own stencils at home using a stencil cutter or printable templates.
- Repurpose Old Wood: Stenciling is a great way to repurpose old wood. If you have an old wooden sign, table, or other furniture, breathe new life into it by adding a stencil design!
Preparing Your Wood Surface for Stenciling
Before applying your stencil, you need to prepare the wood surface to ensure the best results. Skipping this step can lead to uneven paint application or rough edges in your design.
Cleaning and Sanding the Wood
- Clean the Surface: Start by wiping down the wood surface to remove any dirt, dust, or oils that may interfere with the paint. A damp cloth should do the trick.
- Sanding (Optional): If the wood is rough, use fine-grit sandpaper to smooth it out. This helps the paint adhere better and prevents any imperfections from showing through. After sanding, wipe away any remaining dust with a clean cloth.
Applying a Base Coat of Paint (Optional)
If you want to give your project a background color, now is the time to apply a base coat of paint. Use acrylic or chalk paint for the base and apply an even coat across the entire surface. Let it dry completely before moving on to the stenciling step.
Pro Tip: Use painter’s tape around the edges of your wood piece to create a clean border before applying the base coat.
How to Stencil on Wood for Beginners (Step-by-Step)
Now that your wood is prepped and ready, let’s move on to the fun part—stenciling!
Step 1 – Position Your Stencil
- Lay your stencil flat on the wood surface and use painter’s tape to secure it in place. The tape prevents the stencil from shifting as you work, ensuring a clean, sharp design.
- Pro Tip: If you’re working with a larger stencil, tape down all four corners for extra stability. For smaller, detailed designs, tape along the edges and corners to avoid any movement.
Step 2 – Applying Paint to the Stencil
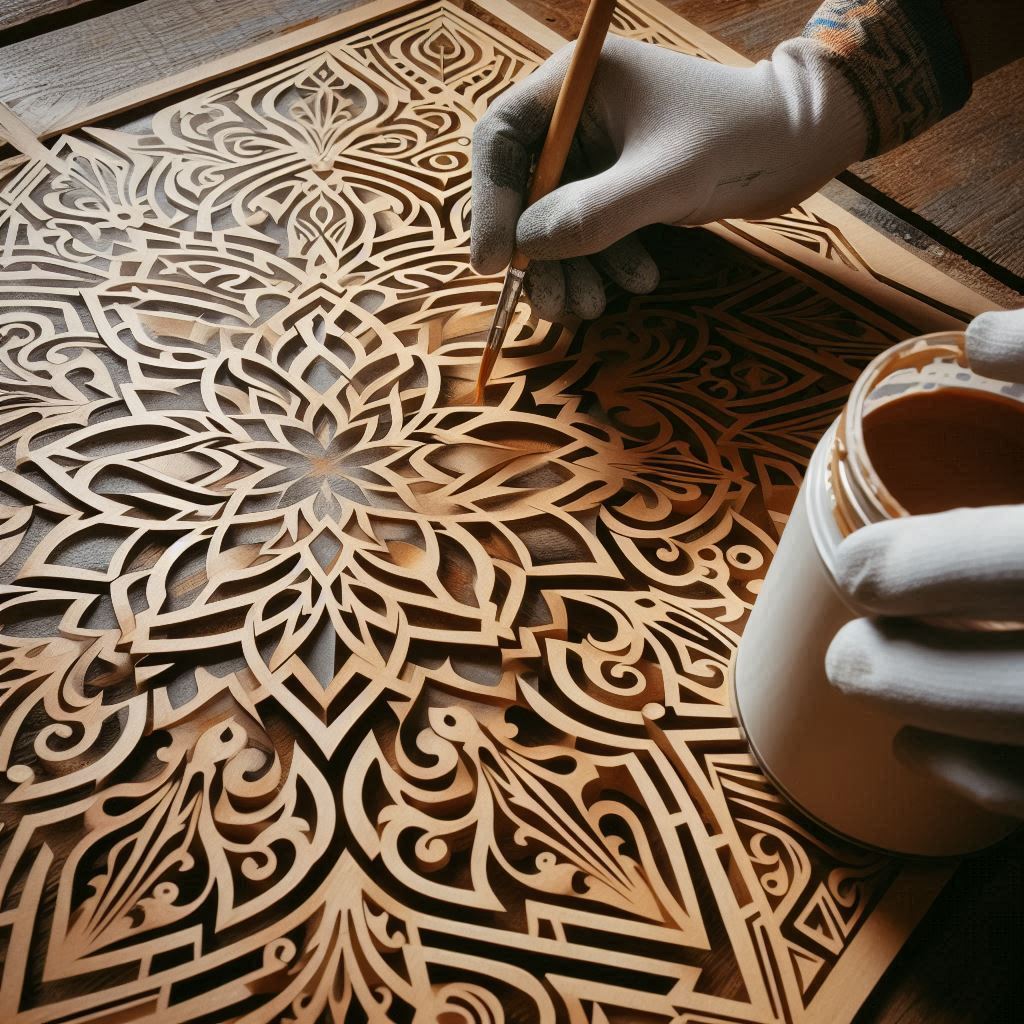
- Use a foam or stencil brush for this step. A foam brush allows you to dab the paint lightly, while a stencil brush helps control the amount of paint applied.
- Lightly dip the brush into the paint and then dab off any excess on a paper towel. You don’t want the brush to be too saturated, as this can cause the paint to bleed under the stencil edges.
- Gently dab or stipple the paint onto the wood through the stencil, working slowly to ensure an even application.
Pro Tip: Avoid brushing the paint across the stencil, as this increases the risk of paint bleeding underneath. Always dab the brush vertically onto the surface.
Step 3 – Remove the Stencil Carefully
- Once you’ve finished painting, carefully peel back the stencil while the paint is still wet. This prevents the stencil from sticking to the wood and smudging your design.
- Slowly lift the stencil straight up, avoiding any sideways movement. If any paint has bled under the stencil, you can fix it in the next step.
Pro Tip: Keep a damp cotton swab or small brush handy to touch up any minor paint bleed while the paint is still wet.
Finishing Touches: Sealing Your Stenciled Wood Design
Once your stencil is complete and the paint is dry, you may want to protect your design with a sealant. This step is especially important if the piece will be placed outdoors or in a high-traffic area.
Why and How to Seal Your Stenciled Design
- Sealing your stenciled wood project helps protect the paint from fading, chipping, or wearing down over time. A clear, water-based polyurethane or furniture wax works well for sealing.
- Apply the sealer in thin, even coats and allow it to dry completely between applications.
Pro Tip: If you want a matte finish, opt for a clear wax or matte polyurethane. For a glossy look, use a satin or semi-gloss sealant.
Optional Ideas for Adding a Distressed Look
If you want to give your project a rustic, vintage feel, consider distressing the wood after stenciling. Here’s how:
- Lightly sand the edges or certain areas of the stenciled design to reveal the wood underneath.
- Focus on corners, edges, or raised surfaces to mimic natural wear.
DIY Stenciling Project Ideas for Beginners
Stenciling can be applied to a variety of DIY projects. Here are a few beginner-friendly ideas to inspire your next stenciling venture:
1. Stenciled Wood Signs for Home Décor
- Create personalized signs with quotes, welcome messages, or even your family name. This is a simple yet effective way to add character to your home.
2. Stenciling on Furniture (Tables, Chairs, etc.)
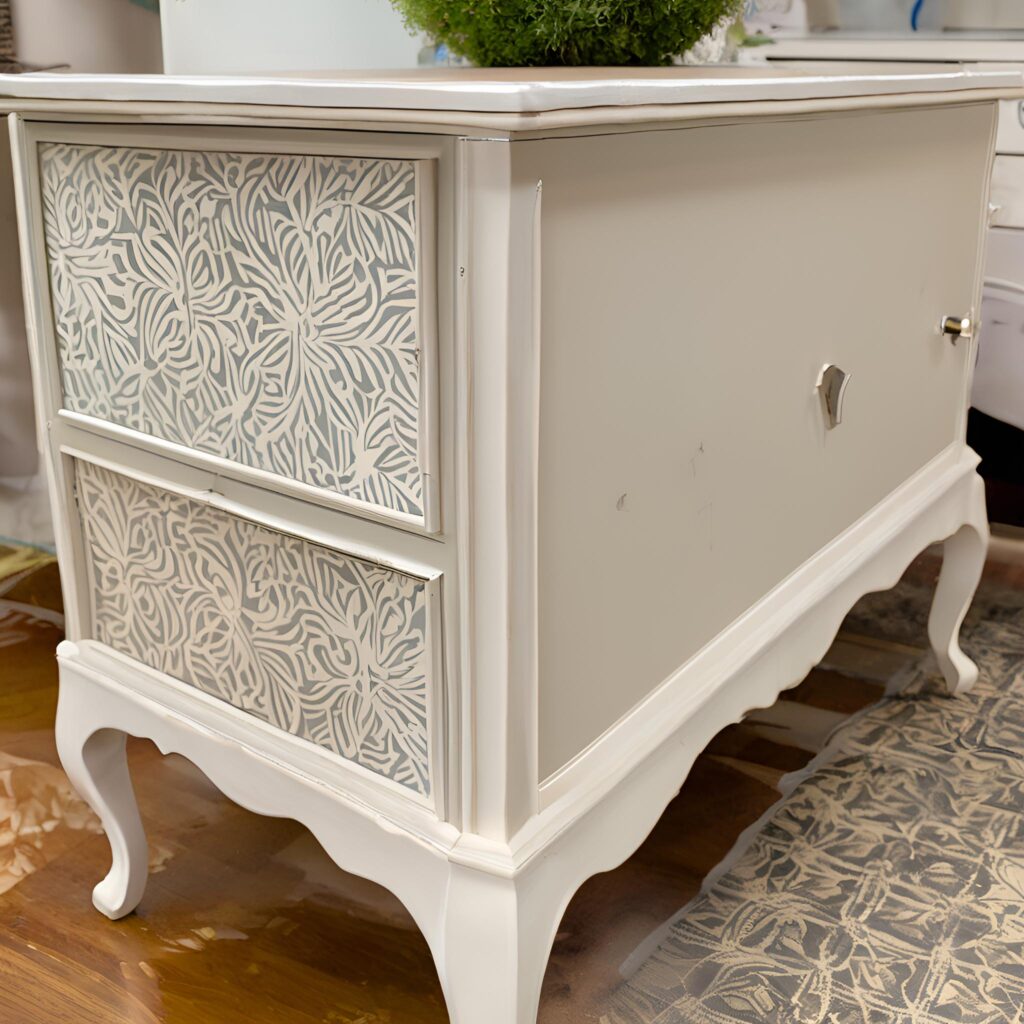
- Update old furniture by stenciling a pattern or design on tabletops, the back of chairs, or drawer fronts. This instantly revamps your furniture without spending a fortune.
3. Stenciling Wooden Coasters or Trays
- Smaller stenciling projects like coasters, serving trays, or cutting boards are great for beginners. They require less time and materials but still produce a stunning result.
Troubleshooting Common Stenciling Problems
Even with the best preparation, sometimes things don’t go as planned. Here are some quick fixes for common stenciling problems:
How to Prevent Paint Bleeding
- Tip 1: Use painter’s tape to hold down the stencil securely.
- Tip 2: Ensure the brush is dry or only lightly coated with paint. Too much paint on the brush is a common cause of bleeding.
- Tip 3: Apply the paint in light layers. Multiple thin coats are better than one thick coat.
Fixing Mistakes After Stenciling
- If paint bleeds under the stencil, wait for it to dry completely and use a small paintbrush to touch up the edges.
- If the mistake is larger, you can lightly sand the area to remove the excess paint and then repaint it.
Conclusion: The Gratification of DIY Stenciling
Congratulations! You’ve now learned how to stencil on wood for beginners, from prepping your wood surface to applying a flawless stencil design. This fun, easy, and affordable DIY project allows you to personalize your home with unique creations that reflect your style.
Remember, DIY stenciling doesn’t have to be perfect. In fact, the small imperfections often add character to the piece! Whether you start with small projects like coasters or go big with furniture or wall art, the key is to have fun and enjoy the creative process.
So, grab your stencils and brushes, and get started on your next gratifying DIY adventure! And don’t forget to share your creations or any questions in the comments below—we’d love to see what you come up with!
Related Article: https://trythisathome.club/easy-diy-furniture-upcycling-projects/