Fall is the perfect time to unleash your creativity, and what better way to do so than with pumpkin carving and painting? Whether you’re a seasoned DIY enthusiast or just starting out, pumpkin carving and painting ideas offer a fun, easy, and affordable way to decorate your home and celebrate the season. This guide is packed with simple yet beautiful ideas to help you create stunning pumpkins without the stress or mess of complicated designs.
In this article, we’ll explore everything from what kind of paint to use on pumpkins to step-by-step guides on creating your own custom pumpkin designs. Whether you prefer carving, painting, or a combination of both, these easy tips and ideas will ensure you have fun while decorating for fall.
Table of Contents
Getting Started with Pumpkin Carving and Painting
Before diving into pumpkin carving and painting ideas, it’s important to get the basics right. Here are some essential tips to help you start your project on the right foot.
Choosing the Right Pumpkins
When it comes to pumpkin decorating, selecting the right pumpkin can make all the difference. Here’s a quick guide:
- Small Pumpkins: Ideal for painting since they’re easier to handle and don’t require much space for elaborate designs.
- Large Pumpkins: Perfect for carving, giving you plenty of surface area to create intricate designs.
- Smooth Skin: Pumpkins with smoother skin work better for painting as they allow for an even application of paint.
- Sturdy Pumpkins: Look for firm pumpkins with intact stems. These will last longer and hold up better whether you’re carving or painting.
What Kind of Paint Do You Use on Pumpkins?
When it comes to pumpkin painting, using the right paint is crucial to achieving long-lasting and vibrant results. Here are the best paint options for pumpkins:
- Acrylic Paint: This is the most popular choice for pumpkin painting. Acrylic paint dries quickly, adheres well to the pumpkin surface, and offers a wide variety of colors.
- Spray Paint: Great for creating even coats of color across the entire pumpkin. Perfect for base coats or for creating gradients.
Pro Tip: Before painting, wash your pumpkin with soap and water to remove dirt and oils that can prevent the paint from sticking properly. Dry it completely before starting your project.
Recommended Pumpkin Painting Tools (Ad)
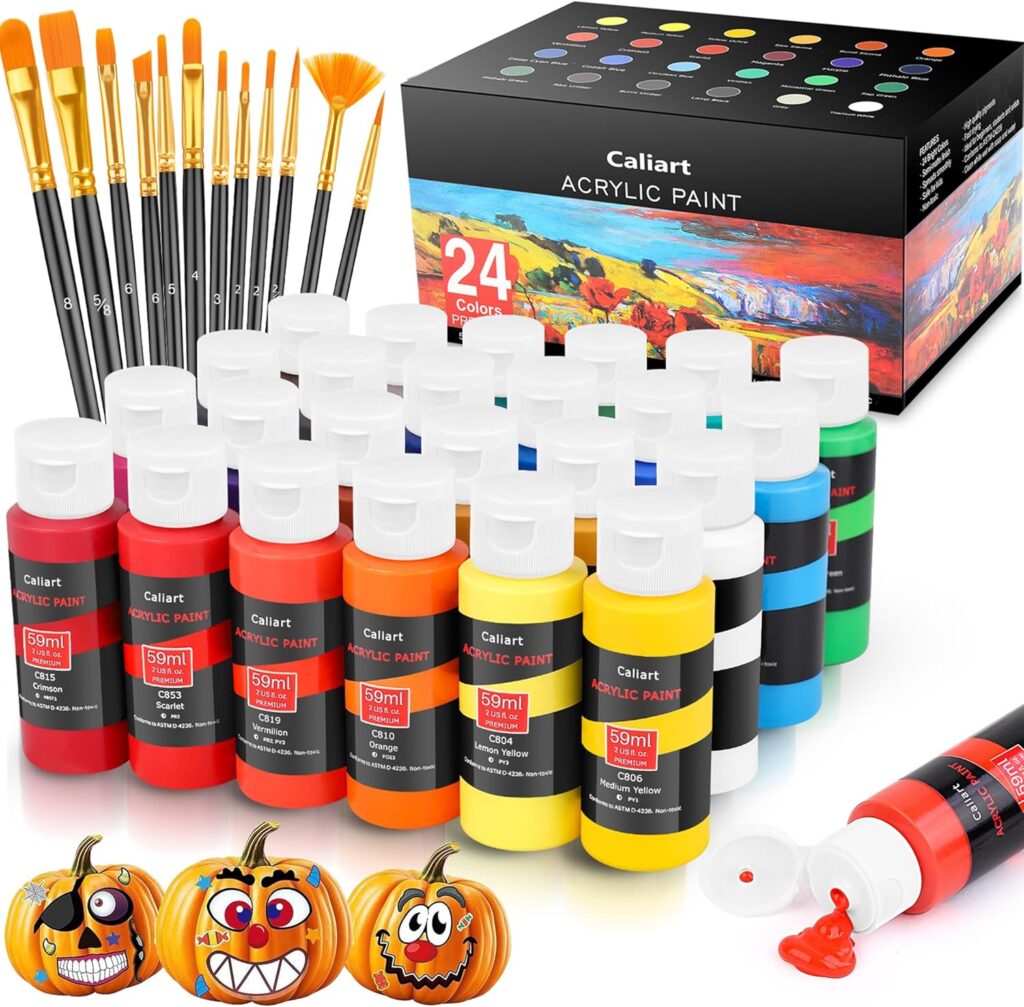
Halloween Pumpkin Painting KIts (Paid Link)
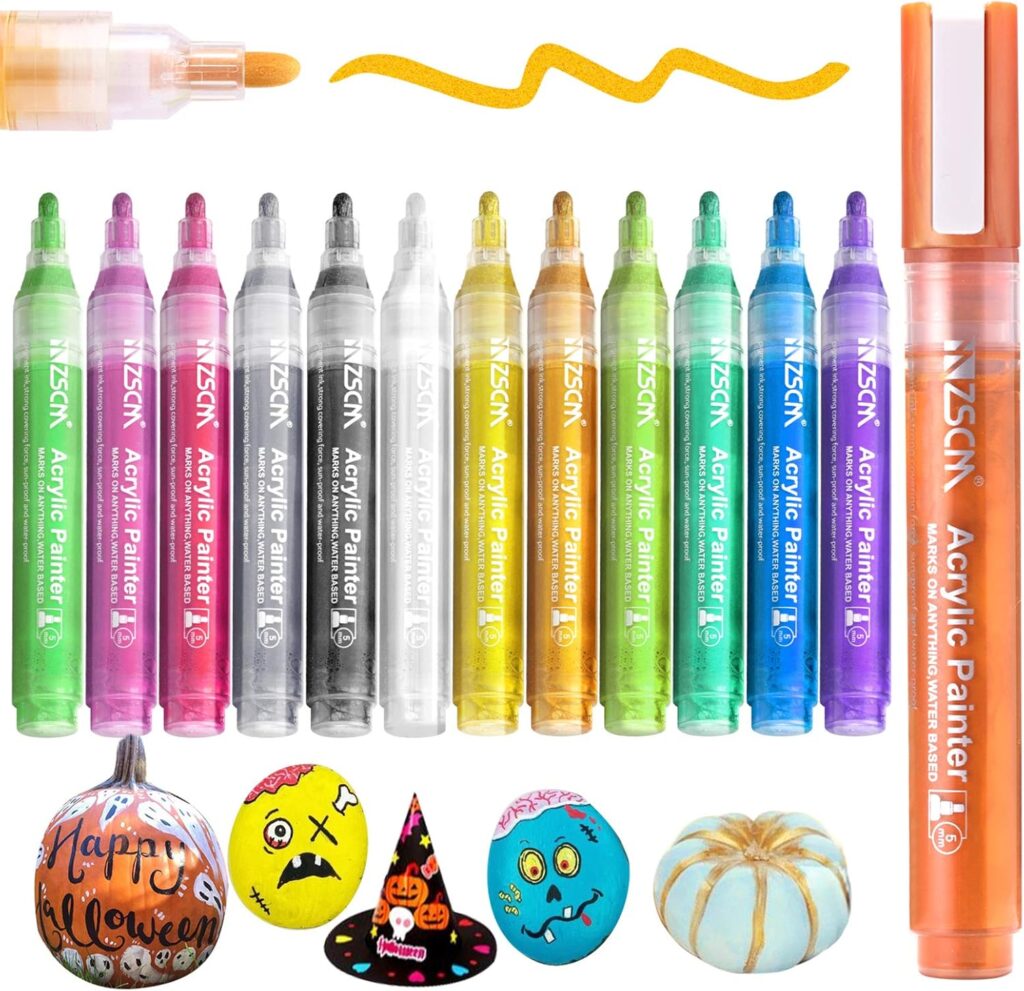
Paint Markers for Halloween Pumpkin Painting (Paid Link)
Should You Carve a Pumpkin Before Painting?
A common question for beginners is whether to carve the pumpkin before or after painting. Here’s a breakdown of each approach:
- Carving First: This option works best if you want to highlight the carved areas with paint. By painting around the carved sections, you can create contrast and make the design pop. Be careful, though — carved pumpkins don’t last as long as painted pumpkins.
- Painting First: If you’re going for a more detailed paint design, it’s best to paint first. You’ll have a smooth surface to work on, and once the paint is dry, you can carve without damaging your artwork.
Simple Pumpkin Carving Ideas for Beginners
Carving pumpkins is one of the most iconic fall traditions, but it doesn’t have to be complicated. Here are a few simple pumpkin carving and painting ideas that even beginners can tackle.
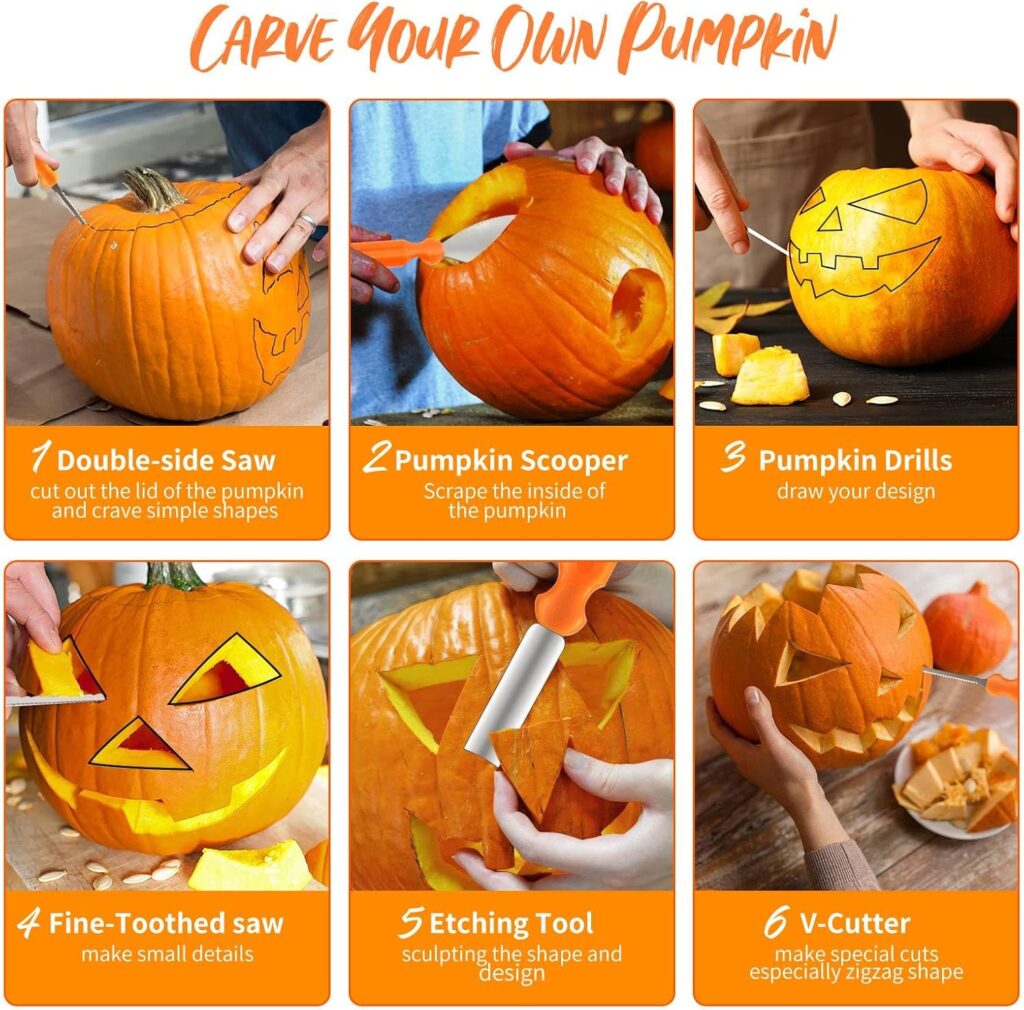
Tools You’ll Need for Carving
To make pumpkin carving easy and safe, it’s important to have the right tools. Here’s a list of basic tools you’ll need:
- Pumpkin Carving Kit: A set typically includes a serrated knife, scooper, and detail carving tools.
- Small Knife: For making precise cuts or trimming small sections.
- Spoon or Scooper: To remove the seeds and insides of the pumpkin.
- Marker or Pencil: For sketching your design on the pumpkin before carving.
Recommended Pumpkin Carving Tools (Ad)
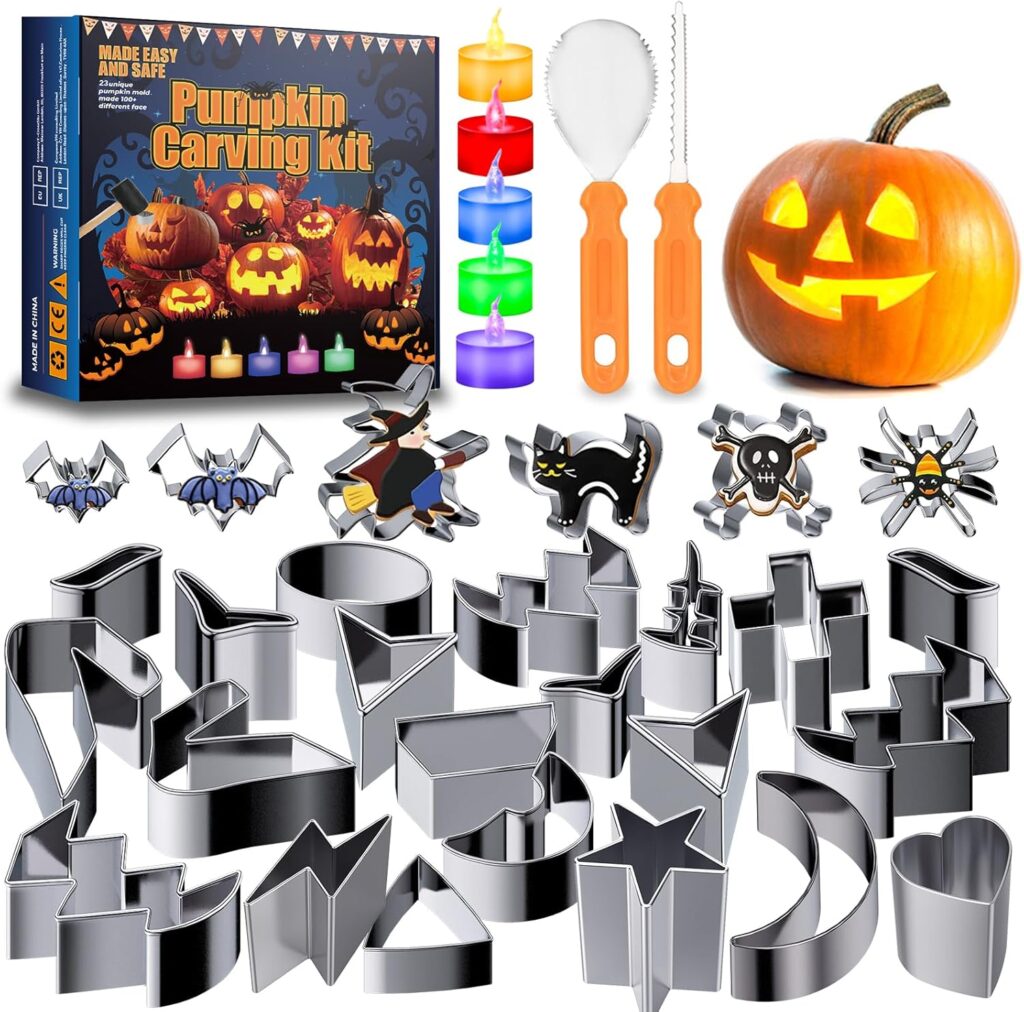
Pumpkin Carving Tools for Kids (Paid Link)
Pumpkin Carving Kit (Paid Link)
Easy Pumpkin Carving Designs to Try
Here are a few beginner-friendly pumpkin carving ideas that are both simple and stunning:
- Classic Jack-o’-Lantern: This traditional design never goes out of style. Create basic facial features — triangles for eyes and nose, and a jagged mouth — for a timeless Halloween look.
- Geometric Patterns: Carving triangles, squares, or circles in repeating patterns can create a modern, stylish pumpkin.
- Nature-Inspired Designs: Carve leaves, trees, or even animals like owls to give your pumpkin a rustic, earthy vibe.
Pro Tip: Use a pencil or dry-erase marker to sketch your design on the pumpkin before cutting. This gives you a guide to follow and ensures your design comes out as planned.
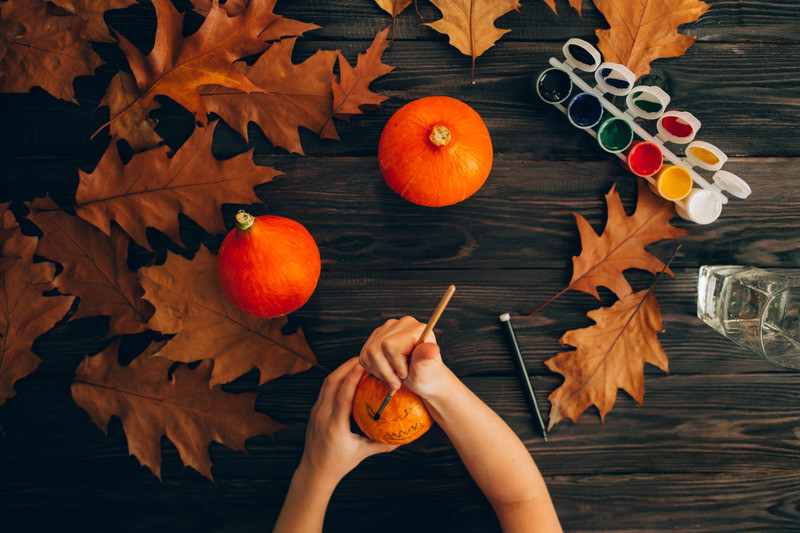
Creative Pumpkin Painting Ideas for Adults
Painting pumpkins is a great alternative to carving, especially if you want your pumpkin to last longer. Here are some easy and fun pumpkin painting ideas that will help you create a stunning decoration without picking up a knife.
How to Make Your Own Pumpkin Design
Creating your own design doesn’t have to be difficult. Here’s how to come up with unique and personalized pumpkin designs:
- Sketch Your Design: Before you start painting, use a pencil to sketch your idea directly onto the pumpkin. This way, you can adjust the design as needed before committing to paint.
- Use Stencils: If you’re not confident in your drawing skills, stencils are a great option. You can buy stencils online or make your own by printing out designs and cutting them to use as guides.
- Layer Colors: Start with a base coat of paint, and once it’s dry, add details and accents in different colors.
What Should I Draw on My Pumpkin?
Here are some simple yet beautiful painting ideas to get you started:
- Abstract Patterns: Use shapes and lines in contrasting colors to create a modern look.
- Floral Designs: Paint delicate flowers or fall leaves for a more nature-inspired pumpkin.
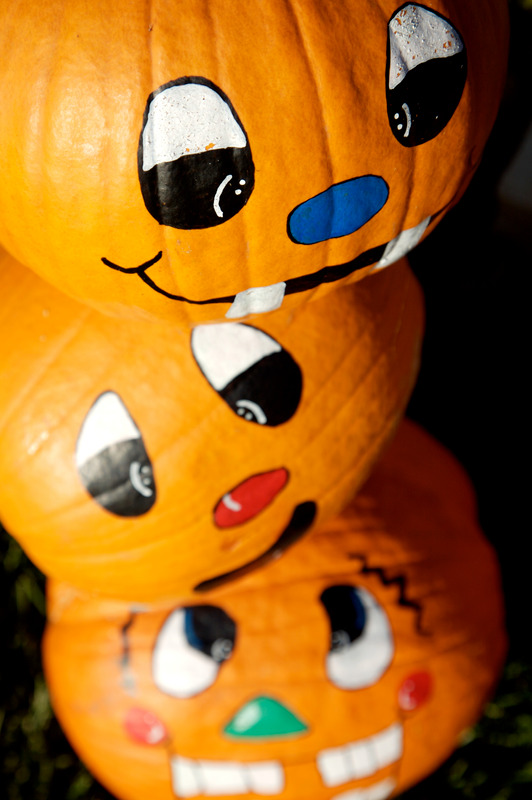
- Faces: For a fun and quirky design, paint a face on your pumpkin — it can be spooky, cute, or funny depending on your style.
- Autumn Motifs: Pumpkins, acorns, and falling leaves are all classic autumn symbols that work beautifully on a painted pumpkin.
Pro Tip: Use metallic paints for an extra pop of glamour. Gold, silver, and copper accents can make even simple designs stand out.
Combining Carving and Painting Techniques
If you can’t decide between carving and painting, why not do both? Here are some tips for combining the two techniques to create a one-of-a-kind pumpkin.
Blending Carving and Painting for a Unique Look
- Paint Accents on a Carved Pumpkin: After carving your pumpkin, use paint to highlight certain areas. For example, paint the carved-out sections in a bright color to create a glowing effect.
- Layer Paint and Carving: Try painting your pumpkin with a base coat first, then carving designs on top. This can create a striking contrast between the carved and painted areas.
- Stencil and Carve: Use stencils to paint designs on your pumpkin, then carve around them to add dimension.
Decorating and Sealing Your Pumpkin
Once you’ve carved or painted your pumpkin, it’s important to preserve it. Here are some tips for making your pumpkin last longer:
- Seal the Paint: After painting, apply a clear acrylic sealer to protect the paint and prevent it from chipping.
- Use Petroleum Jelly: Rub petroleum jelly along the cut edges of a carved pumpkin to keep it from drying out too quickly.
- Store Indoors: Painted pumpkins last longer when kept indoors or in a cool, shaded area.
Final Tips and Inspiration for Beginners
Pumpkin decorating should be fun, and the best way to make sure you enjoy the process is by keeping things simple. Here are a few more tips and ideas to help you along the way.
Inspiration Gallery: Simple and Affordable Pumpkin Designs
Looking for more inspiration? Here are a few ideas to spark your creativity:
- Glam Pumpkins: Paint your pumpkin in a solid color, then add glitter or rhinestones for a glamorous touch.
- Farmhouse Style: Use white chalk paint to give your pumpkin a distressed, vintage look. Pair with burlap ribbon for a cozy fall vibe.
- Monogrammed Pumpkins: Paint or carve your initials into the pumpkin for a personalized touch that’s perfect for your front porch.
Budget-Friendly Tips for Pumpkin Carving and Painting
Decorating pumpkins doesn’t have to break the bank. Here are a few ways to keep your project affordable:
- Buy Pumpkins Locally: Farmer’s markets often have lower prices than grocery stores, and you can find unique shapes and sizes.
- DIY Tools: If you don’t have a carving kit, use basic kitchen utensils like spoons and paring knives.
- Repurpose Paints: Instead of buying new paint, use leftover craft paints you have around the house.
Wrap-Up: Get Creative and Enjoy Your Pumpkin Decorating!
With these pumpkin carving and painting ideas, you’re all set to create beautiful, fun, and easy fall decorations. Whether you’re painting an intricate design or carving a simple jack-o’-lantern, the process is both gratifying and affordable. So grab a pumpkin, some paint, and get started on your next DIY project today!
Let us know which ideas you try, and feel free to share your pumpkin creations with us on social media. Happy decorating!