Is your beautiful exterior wooden door showing signs of wear from rain, snow, or intense sunlight? Weatherproofing a wooden door is not only essential for maintaining its appearance but also for extending its life. Thankfully, you don’t need expensive tools or professional help to tackle this task. In this beginner-friendly guide, I’ll show you exactly how to weatherproof a wooden door using easy, affordable, and rewarding DIY techniques.
Let’s dive in and protect your wooden door against all weather conditions!
Table of Contents
Why Protecting Your Wooden Door Matters
Wooden doors are a timeless addition to any home, but they’re also vulnerable to the elements. Here’s why weatherproofing your wooden door is so important:
- Prevents Damage: Moisture can cause wood to warp, crack, or rot, while UV rays fade its natural beauty.
- Saves Money: Regular maintenance avoids the need for costly repairs or replacements.
- Enhances Aesthetic Appeal: A well-protected door stays looking fresh and polished for years.
- Energy Efficiency: Weatherproofing seals gaps, keeping your home insulated and energy bills low.
By following the steps below, you’ll not only protect your investment but also enjoy the satisfaction of tackling a rewarding DIY project.
Tools and Materials You’ll Need
Before starting, gather all the essentials. Here’s what you’ll need:
Tools:
- Sandpaper (medium and fine grit)
- Screwdriver
- Paintbrushes or foam applicators
Materials:
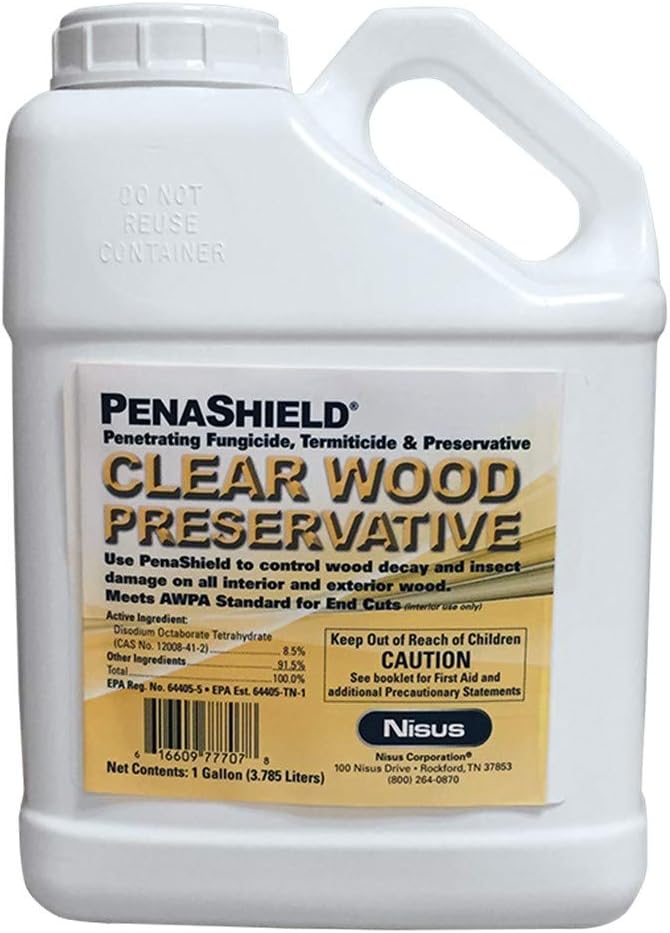
- Exterior wood sealant or varnish
- Weatherstripping tape
- Cleaning supplies (soap, water, and a soft cloth)
Having everything ready ensures your project goes smoothly from start to finish.
Ad
How to Weatherproof a Wooden Door: Step-by-Step Instructions
Follow these simple steps to weatherproof your wooden door and keep it protected all year long.
1. Prepare the Door for Weatherproofing
The first step in learning how to weatherproof a wooden door is proper preparation.
- Remove Hardware: Use a screwdriver to take off the doorknob, hinges, and any other hardware.
- Clean Thoroughly: Mix mild soap with water and use a soft cloth to wipe down the door. This removes dirt and grime that could interfere with the sealant.
- Sand the Surface:
- Use medium-grit sandpaper to remove any old paint or sealant.
- Follow up with fine-grit sandpaper for a smooth finish.
- Inspect for Damage: Check for cracks or holes and fill them with wood filler if needed.
2. Apply a Weatherproof Sealant
Now that your door is prepped, it’s time to protect it with a durable sealant.
- Choose the Right Sealant: Look for an exterior-grade wood sealant or waterproof varnish specifically designed for outdoor use.
- Apply the First Coat:
- Use a paintbrush or foam applicator to evenly spread the sealant across the door’s surface.
- Pay extra attention to edges and corners where water tends to seep in.
- Let It Dry: Allow the first coat to dry completely (check the product’s label for drying times).
- Apply a Second Coat: Repeat the process for added protection.
Pro Tip: For a natural look, choose a clear wood sealant. If you prefer a pop of color, use waterproof exterior paint instead.
3. Add Weatherstripping for Extra Protection
Weatherstripping is a simple but effective way to seal gaps around your door, keeping drafts and moisture at bay.
- Measure the Door Frame: Use a tape measure to determine the length of weatherstripping needed.
- Cut to Size: Trim the weatherstripping tape to fit the top, sides, and bottom of the door frame.
- Apply the Tape: Peel off the adhesive backing and press the tape firmly into place.
- Test the Fit: Close the door to ensure a snug seal without hindering movement.
Maintenance Tips to Keep Your Wooden Door Weatherproof
Weatherproofing doesn’t stop after the initial application. Regular maintenance is key to keeping your door in great shape.
1. Reapply Sealant Annually
Inspect your door each year and reapply the sealant if it shows signs of wear, such as peeling or fading.
2. Check Weatherstripping Regularly
Replace any weatherstripping that’s become worn or detached to maintain a tight seal.
3. Keep It Clean
Wipe your door with a damp cloth every few months to remove dirt and grime that could damage the protective coating.
4. Address Minor Issues Promptly
If you notice cracks or chips, repair them immediately with wood filler or touch-up paint to prevent further damage.
Why DIY Weatherproofing Is Gratifying
Protecting your exterior wooden door isn’t just about practical benefits—it’s also an incredibly satisfying DIY project. Here’s why:
- It’s Budget-Friendly: You’ll save money compared to hiring a professional.
- It’s Empowering: Learning how to weatherproof a wooden door gives you confidence in your DIY skills.
- It’s Creative: From choosing the perfect finish to perfecting your application technique, the process allows for personal expression.
Quick Recap: Your DIY Weatherproofing Checklist
To sum up, here’s a quick checklist to guide you through the process:
- Prepare Your Door: Remove hardware, clean, sand, and inspect for damage.
- Apply Sealant: Use a high-quality exterior wood sealant or paint, and apply two coats for optimal protection.
- Install Weatherstripping: Seal gaps around the door frame with adhesive tape.
- Maintain Regularly: Reapply sealant and replace weatherstripping as needed.
Ready to Protect Your Wooden Door?
Weatherproofing your wooden door is an easy, affordable, and gratifying DIY project that protects your home while adding to its charm. By following the steps in this guide, you’ll ensure your door stays beautiful and functional no matter the weather.
Got questions or tips of your own? Share them in the comments below—I’d love to hear about your DIY journey!
By using these techniques, you’re not just weatherproofing your wooden door—you’re gaining the confidence to tackle even more DIY projects in the future. Let’s keep creating, saving, and protecting, one step at a time!


