
Transforming a dresser into a DIY bathroom vanity is an easy, affordable, and gratifying project that can give your bathroom a unique and personalized touch. This step-by-step guide will show you exactly how to turn an old dresser into a stunning DIY bathroom vanity. Whether you’re a beginner or just looking for a budget-friendly way to upgrade your space, this project is approachable, fun, and rewarding. Read on to learn all the steps for turning a dresser into a DIY bathroom vanity, from choosing the right piece to installing the sink.
Table of Contents
Why Convert a Dresser to a DIY Bathroom Vanity?
Personalization: You get to select the dresser style that best fits your bathroom’s aesthetic.
Affordability: Converting a dresser is generally cheaper than purchasing a brand-new vanity.
Sustainability: Repurposing an old dresser reduces waste and encourages a sustainable lifestyle.

Step 1: Choosing the Right Dresser for Your Bathroom Vanity
When selecting a dresser, it’s essential to pick one that fits your bathroom’s size and layout. Here’s what to consider:
- Size: Make sure the dresser fits comfortably in your bathroom. Measure the space to ensure it won’t overcrowd the area.
- Material: Solid wood is the best choice for durability and easier sanding and painting. Avoid veneers as they can chip easily.
- Storage Needs: Consider how much storage you need. If you want functional drawers, choose a dresser with roomy compartments.
- Style: Select a dresser that complements your bathroom decor, whether it’s rustic, modern, or vintage.
Step 2: Tools and Materials You’ll Need
Gathering the right tools and materials in advance will make the project smoother. Here’s a checklist of essentials:
- Tools:
- Screwdriver
- Measuring tape
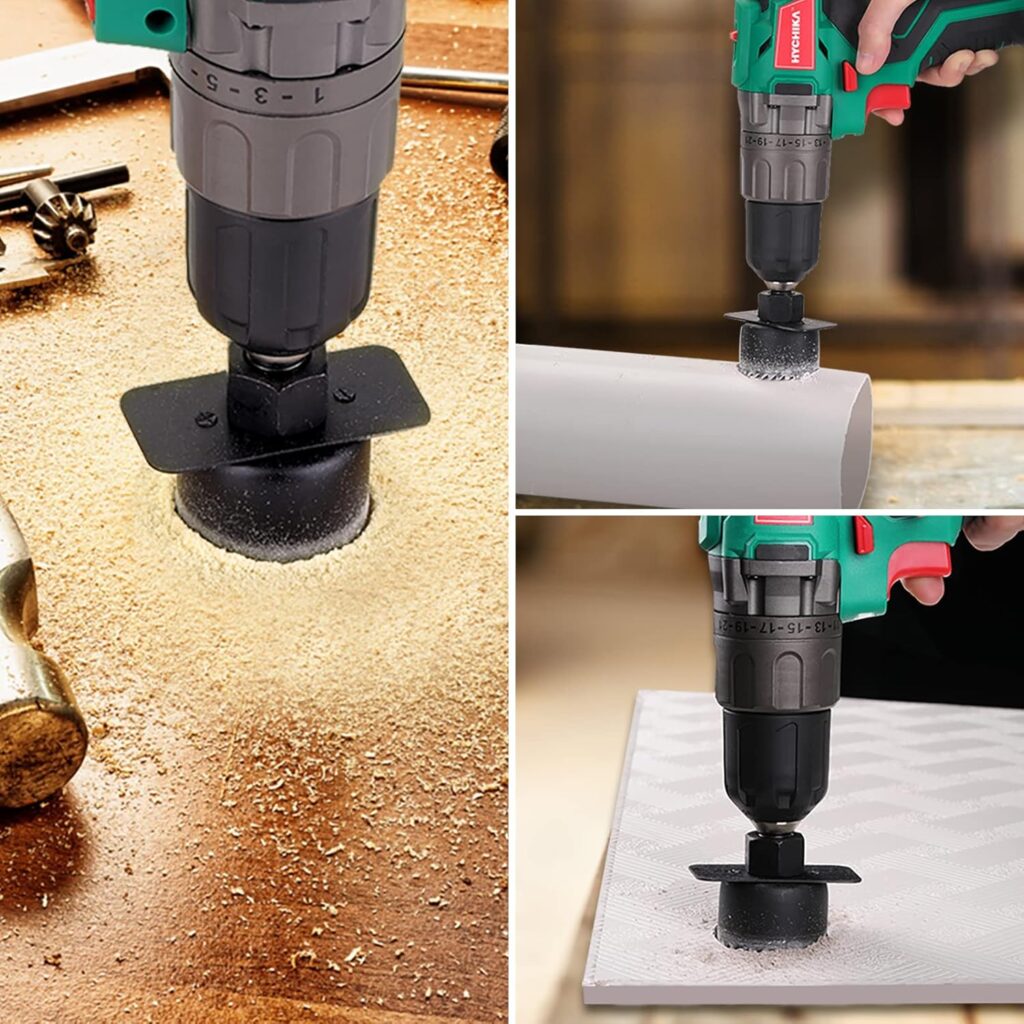
- Saw (for cutting holes for plumbing and sink)
- Sandpaper (medium and fine grit)
- Paintbrushes and/or rollers
- Materials:
- Paint (moisture-resistant type for bathrooms)
- Wood sealant (to protect against humidity)
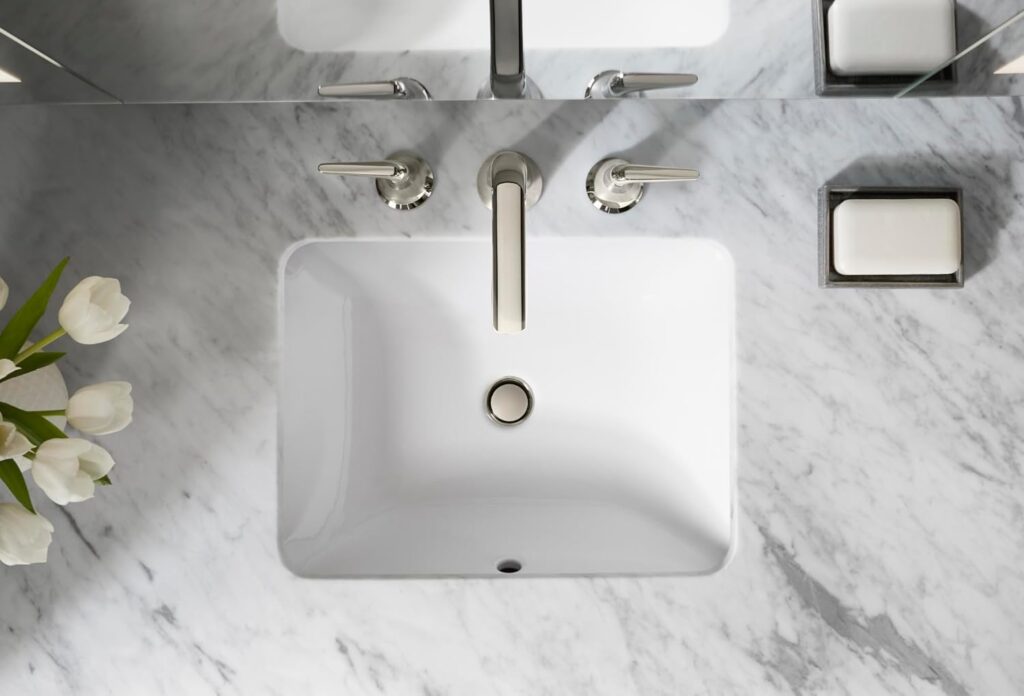
- Sink basin (choose one that fits the dresser top)
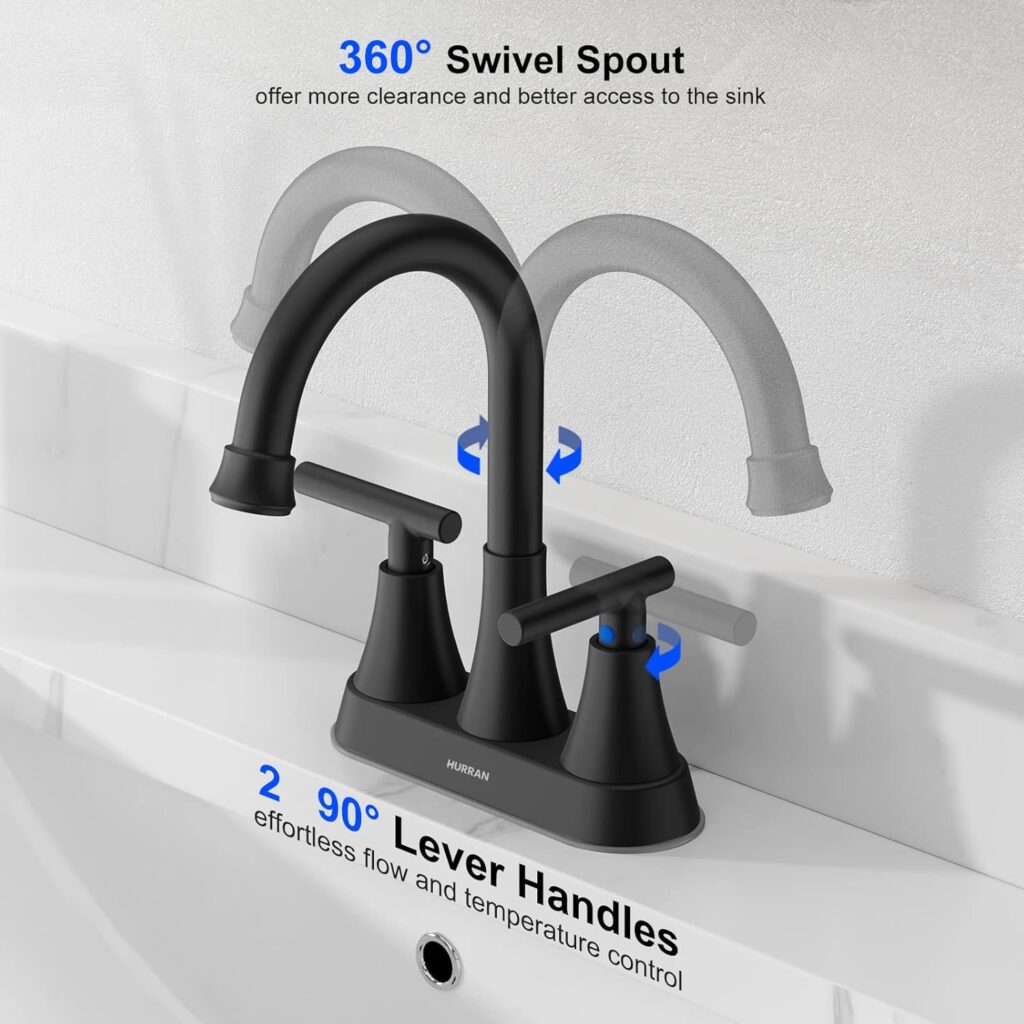
- Plumbing fixtures (faucet, drain, P-trap)
- Handles or knobs (optional, for extra style)
Explore Tools on Amazon (Ad)
Step 3: Prepping the Dresser for Conversion
Now it’s time to get your dresser ready for its new life as a bathroom vanity.
- Remove the Drawers: Take out the drawers you don’t plan to keep. For drawers that you’ll be keeping, make sure they can still slide easily once the dresser is in place.
- Sand the Dresser: Sand all surfaces to create a smooth base for painting. Use medium-grit sandpaper (80-120 grit) to remove any varnish, then switch to a finer grit (180-220) for a polished finish.
- Clean Thoroughly: Wipe down the dresser with a damp cloth to remove dust, grease, and debris. Allow it to dry fully before proceeding.
- Measure and Mark for Plumbing: Use a measuring tape to determine where you’ll need holes for plumbing at the back and top of the dresser. Make sure the sink and faucet positions are properly marked to avoid misalignment.
Step 4: Cutting and Fitting for Plumbing and Sink
This step involves precise measuring and cutting, but with patience, it’s very doable!
- Cut Out the Sink Hole: Place your sink upside-down on the dresser’s top and trace the outline. Use a saw to cut slightly within this outline, ensuring a snug fit. Double-check before you make any cuts!
- Drill Plumbing Holes: Drill or saw holes at the back of the dresser to accommodate plumbing pipes. Be sure to measure carefully to avoid making holes too large or too small.
- Test Fit: Place the sink and faucet in their positions to ensure everything lines up with the dresser. If adjustments are needed, make them now before painting.
Step 5: Painting and Sealing the Dresser
A fresh coat of paint and a good sealant will protect your vanity from moisture and give it a polished look.
- Choose the Right Paint: Go for a paint that’s specifically formulated for bathroom use. These paints are usually mildew-resistant and more durable against humidity.
- Apply a Primer: Priming is essential for a smooth, even finish. Use a primer suitable for wood surfaces, then let it dry completely.
- Paint: Apply at least two coats of paint for a uniform finish. Let each coat dry thoroughly before applying the next.
- Seal the Dresser: Finish with a waterproof sealant, especially if your bathroom tends to be humid. Apply according to the product instructions to ensure durability and water resistance.
Step 6: Installing the Sink and Fixtures
With your dresser painted and sealed, it’s time for the exciting part—installing the sink and fixtures!
- Secure the Sink: Place the sink in the pre-cut hole and secure it according to the manufacturer’s instructions. Most sinks come with brackets or silicone adhesive to hold them in place.
- Attach the Faucet and Drain: Follow the manufacturer’s guide to install the faucet and drain. Ensure all seals are tight to prevent leaks.
- Connect Plumbing: Attach the P-trap and other plumbing fixtures, making sure everything is connected securely. Check for leaks by turning on the water and adjusting as necessary.
Step 7: Adding Final Touches to Your Vanity
The last step is to add your personal flair! Customize your DIY bathroom vanity with the finishing touches:
- Handles and Knobs: Swap out old handles or add new ones for a polished look.
- Drawer Liners: Add liners to keep the inside fresh and protected.
- Accessories: Place small decor items like candles, plants, or soap dispensers to complete the look.
DIY Bathroom Vanity Tips for Beginners
To make your project even easier, here are some extra tips:
- Double-check Measurements: Precision is key, especially when cutting holes for plumbing.
- Use a Friend’s Help: If you’re new to DIY, an extra pair of hands can be very helpful.
- Take Your Time: Rushing can lead to mistakes. Take your time and enjoy the process!
Common Challenges and Solutions
Even with careful planning, DIY projects sometimes present challenges. Here’s how to address common issues:
- Sink Doesn’t Fit Properly: If the sink hole is too large, use caulk or sealant to fill any gaps. If it’s too small, you may need to sand the edges slightly.
- Plumbing Leaks: Tighten all connections and use plumber’s tape on threads to prevent leaks.
- Paint Chipping or Peeling: Make sure surfaces are thoroughly sanded, primed, and sealed to prevent moisture damage.
Final Thoughts on How to Turn a Dresser into a DIY Bathroom Vanity
Transforming an old dresser into a DIY bathroom vanity is a fulfilling project that brings both functionality and personal style to your home. By following these steps, you’ll end up with a unique, customized piece that enhances your bathroom without breaking the bank. Ready to get started? Turn that old dresser into a DIY bathroom vanity and enjoy the satisfaction of creating something beautiful and practical with your own hands!
By following this guide, you can bring a functional and beautiful DIY dresser vanity to life in your bathroom. So gather your tools, clear a weekend, and embrace the joy of creating a one-of-a-kind vanity that’s as stylish as it is practical.


[…] How to Turn a Dresser into a DIY Bathroom Vanity: A Step-by-Step Guide for Beginners Tags# affordable furniture painting# beginner DIY projects# chalk paint ideas# chalk paint tutorial# DIY chalk paint dresser# dresser makeover# furniture makeover […]