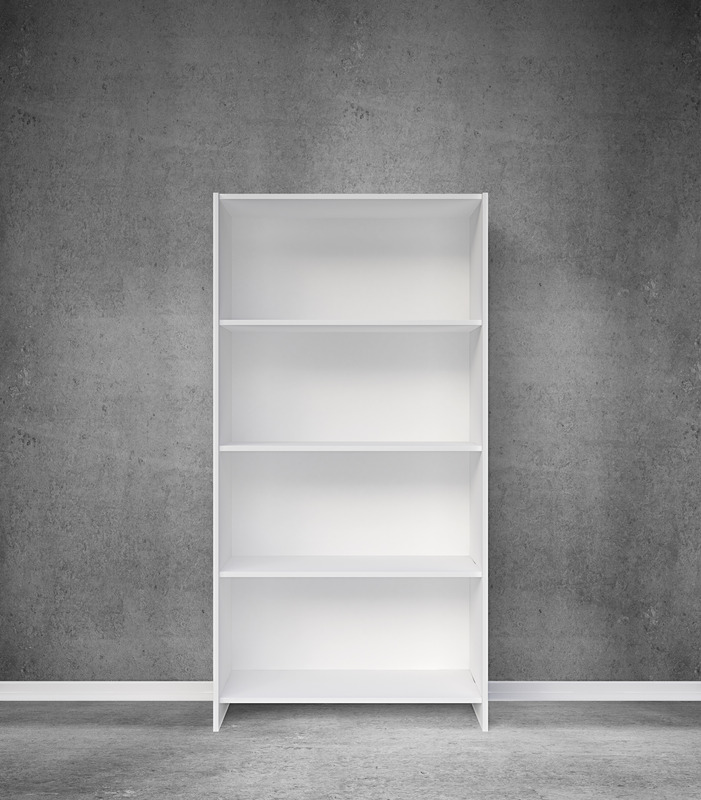
Are you looking for an easy way to update your space without breaking the bank? If you’re a beginner DIY enthusiast, painting a bookshelf is a fantastic project to start with. Not only is it budget-friendly, but it’s also an incredibly gratifying process that allows you to get creative while transforming an ordinary piece of furniture into something that looks fresh and stylish.
In this guide, we’ll show you how to paint a bookshelf for beginners step by step. Whether your bookshelf is a thrift-store find or a beloved piece that needs a refresh, this guide will make the process simple, fun, and accessible. Let’s dive in!
Table of Contents
What You’ll Need
Before you begin, it’s important to gather all the necessary materials. Don’t worry — most of these items are inexpensive and easy to find at your local hardware store or online.
Materials List:
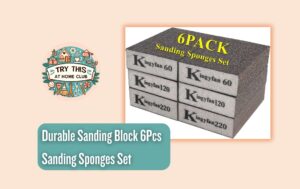
- Sandpaper (120 to 220 grit)
- Primer (choose a budget-friendly option)
- Paint (latex or chalk paint works best for beginners)
- Paintbrushes (angled brushes for precision and flat brushes for coverage)
- Drop cloth or old newspapers (to protect your workspace)
- Painter’s tape (to tape off areas you don’t want painted)
- Small paint roller (optional for larger bookshelves)
- Topcoat or sealer (to protect your painted bookshelf)
By preparing your materials ahead of time, you’ll save yourself from mid-project trips to the store and keep the project stress-free.
Preparing the Bookshelf for Painting
Preparation is key to ensuring your bookshelf not only looks amazing but that the paint job lasts for years to come. The steps in this section will guide you on how to properly prepare your bookshelf for painting.
Cleaning the Surface
The first step is to clean the surface of your bookshelf. Whether it’s covered in dust, dirt, or sticky residue, you want to start with a clean base.
- What to do: Use a damp cloth or a gentle cleaning solution to wipe down the entire surface. Pay close attention to the corners and edges where dust tends to accumulate.
- Why it matters: Painting over dirt or dust can lead to an uneven finish, and the paint may not adhere properly.
Sanding
Sanding might sound intimidating, but it’s a crucial step for beginners learning how to paint a bookshelf. It creates a smooth surface for the paint to grip.
- How to sand: Lightly sand the entire surface of your bookshelf using 120-220 grit sandpaper. For bookshelves with a glossy finish, this step is especially important to help the primer adhere better.
- Tip: Sanding by hand is sufficient for smaller bookshelves, but for larger pieces, you can use an electric sander to speed up the process.
Priming the Bookshelf
Primer is your bookshelf’s best friend, especially if you’re covering a dark or stained surface.
- Why use primer: It creates a smooth, even base for your paint, ensuring better coverage and durability. Primer also helps to block stains and prevent discoloration from showing through your paint.
- Application tip: Use a paintbrush or roller to apply a thin, even coat of primer to the entire bookshelf. Allow it to dry for the recommended time before moving on to painting.
Choosing the Right Paint
Now that your bookshelf is prepped, it’s time to choose the right paint. For beginners, it’s important to select a paint that’s easy to work with and gives a professional-looking finish.
Types of Paint for Beginners
- Latex Paint: Ideal for beginners due to its quick drying time and easy cleanup with water. It’s also durable and comes in a wide variety of colors.
- Chalk Paint: Known for its matte finish, chalk paint is incredibly forgiving and doesn’t require a lot of prep work. It’s great for creating a rustic or vintage look.
- Spray Paint: While spray paint can offer a smooth, even finish, it’s a bit harder to control and may not be the best choice for beginners.
Choosing a Color
The color of your bookshelf can dramatically change the look of your room. When choosing a color, consider:
- The existing colors in your room’s décor.
- Whether you want a bold statement piece or something more neutral.
- Light colors can brighten a room, while darker hues add a touch of elegance.
Step-by-Step Guide to Painting Your Bookshelf
Once your bookshelf is clean, sanded, and primed, you’re ready for the fun part — painting! This step-by-step guide will help ensure a smooth and professional finish.
Applying the First Coat of Paint
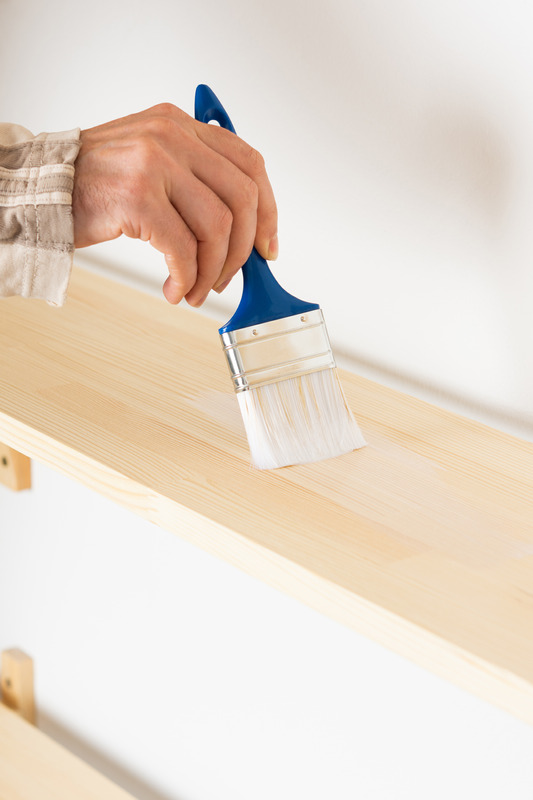
- Start with the edges: Use an angled brush to paint the edges, corners, and any intricate details first. This will ensure you don’t miss any spots.
- Use a roller for larger surfaces: If your bookshelf has large, flat areas, a small paint roller can make this step faster and give you an even finish.
- Don’t overload your brush: Dip just the tip of your brush into the paint and remove any excess. This helps prevent drips and ensures a smooth application.
Letting the Paint Dry
Patience is key when learning how to paint a bookshelf for beginners. Let each coat of paint dry completely before adding another. This prevents smudging and uneven texture.
- Drying time: Most paints will dry to the touch in a few hours, but it’s a good idea to wait 24 hours before applying the next coat.
- Tip: If you’re using latex paint, placing a fan nearby can help speed up drying time.
Applying a Second Coat
After the first coat has dried, it’s time to apply the second coat. This coat will even out any inconsistencies and give your bookshelf a polished look.
- How to apply: Follow the same technique as the first coat, using light, even strokes with your brush or roller. Don’t rush — slow and steady wins the race!
Adding a Personal Touch
Painting your bookshelf is just the beginning! Adding personal touches can make your piece stand out and reflect your unique style.
Ideas for Customization
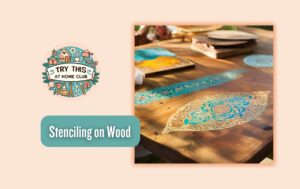
- Stenciling: Use stencils to add patterns or designs to the back of your bookshelf for a custom look.
- Distressing: If you’re going for a vintage or shabby-chic vibe, lightly sand the edges of your painted bookshelf to create a distressed finish.
- Decorative Hardware: Consider swapping out plain knobs or handles for something more decorative.
Why Personalization is Fun and Gratifying
Personalizing your bookshelf not only adds a unique flair but also makes the project more fun. It’s a chance to get creative and make the piece your own, which is one of the most gratifying aspects of DIY.
Finishing Touches and Protecting Your Work
To keep your newly painted bookshelf looking its best, it’s important to seal and protect your work.
Sealing the Paint
A protective topcoat or sealer is essential, especially if your bookshelf will be used frequently or in a high-traffic area.
- Types of sealers: Polycrylic is a great option for beginners because it’s easy to apply and dries quickly. It comes in various finishes like matte, satin, or gloss, so you can choose one that suits your style.
- Application: Apply a thin, even coat of sealer using a clean brush. Allow it to dry completely before adding any items to the bookshelf.
Caring for Your Painted Bookshelf
Now that your bookshelf is freshly painted, caring for it properly will keep it looking new for years to come.
- Dust regularly: Use a soft cloth to dust the shelves to prevent buildup.
- Avoid harsh cleaners: Stick to gentle, non-abrasive cleaners when wiping down the surfaces to avoid damaging the paint or sealer.
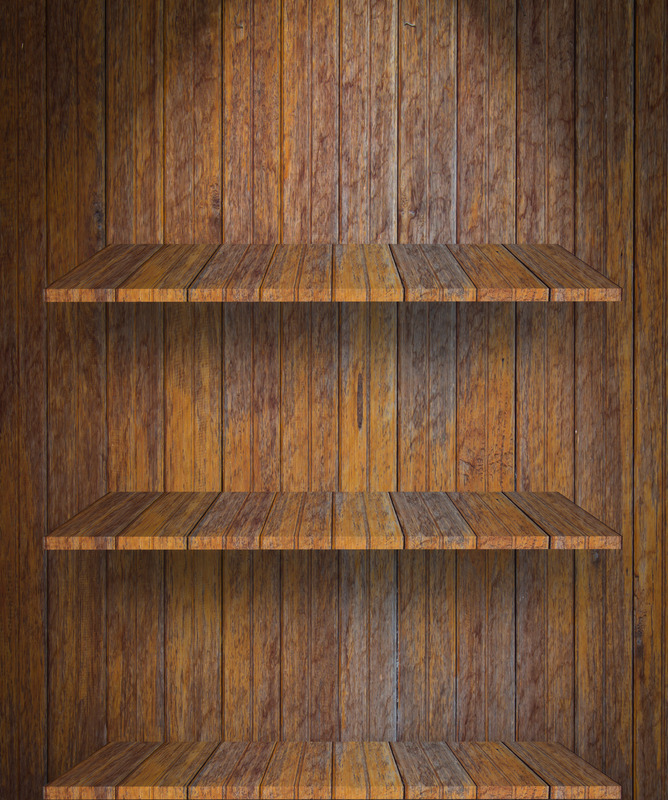
Before and After – Enjoying the Results!
There’s nothing more satisfying than standing back and admiring the results of your hard work. Your painted bookshelf not only looks fantastic, but it’s also a testament to your creativity and dedication.
Whether you’ve opted for a bold color or a classic neutral, your space now has a fresh focal point that reflects your personal style. Don’t forget to take some before-and-after photos to capture your progress!
Wrapping Up: Your DIY Bookshelf Transformation Awaits!
Painting a bookshelf is a perfect project for beginner DIYers. Not only is it fun and affordable, but the process is also incredibly gratifying. With the right preparation and materials, you can transform any old bookshelf into a stylish piece that will enhance your home decor.
So, grab your brushes, pick your favorite paint color, and start your DIY journey today. We hope this guide on how to paint a bookshelf for beginners has given you the confidence to tackle this project with ease. Happy painting!