
Have you ever admired a beautiful pine cone craft and wondered how the creator achieved such a pristine finish? The secret often lies in the preparation. Cleaning pine cones is a crucial step before embarking on any craft project. It removes dirt, debris, and insects, ensuring a clean and professional-looking result.
In this guide, we’ll walk you through the simple and affordable process of cleaning pine cones for crafts. Whether you’re a seasoned crafter or just starting out, these steps will help you create stunning pieces.
Table of Contents
Why Clean Pine Cones?
Cleaning pine cones offers several benefits:
- Removes dirt and debris: This ensures a clean and polished look for your finished crafts.
- Kills insects: Prevents unwanted creatures from infesting your projects.
- Preserves natural beauty: Helps maintain the pine cone’s original color and texture.
- Prevents mold and mildew: Proper cleaning reduces the risk of fungal growth.
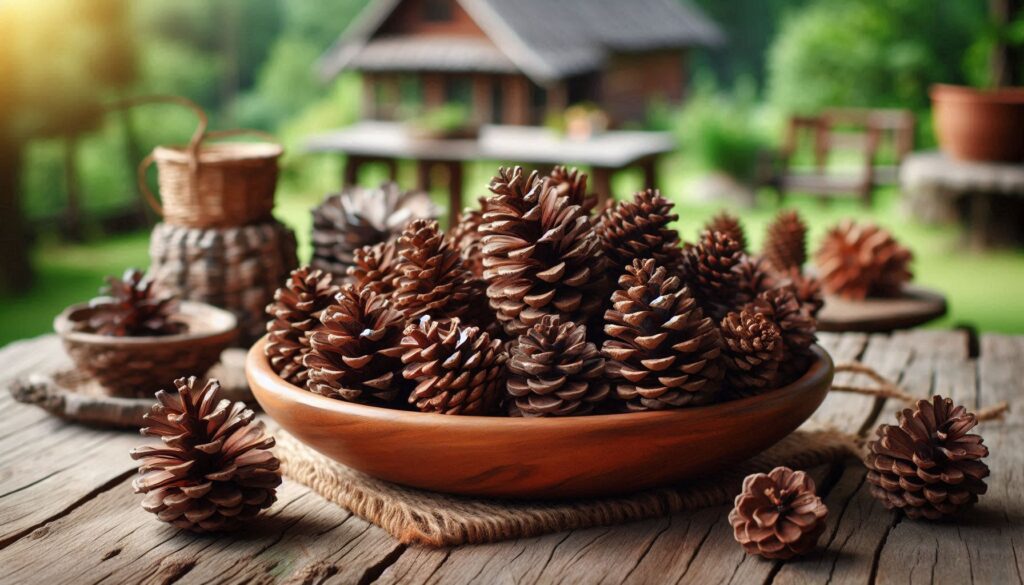
Gathering Pine Cones
Before you start cleaning, you’ll need to gather your pine cones. Here are some tips:
- Best time to collect: The fall season is ideal, as pine cones are abundant and mature.
- Location: Look for pine trees in parks, forests, or your own backyard.
- Safety first: Wear gloves and closed-toe shoes to protect yourself from sharp pine needles.
- Variety: Collect different sizes and shapes of pine cones to add variety to your crafts.
Cleaning Methods
There are several effective methods for cleaning pine cones. Choose the one that best suits your preferences and time constraints.
1. Soaking in Water
This is the most common and easiest method.
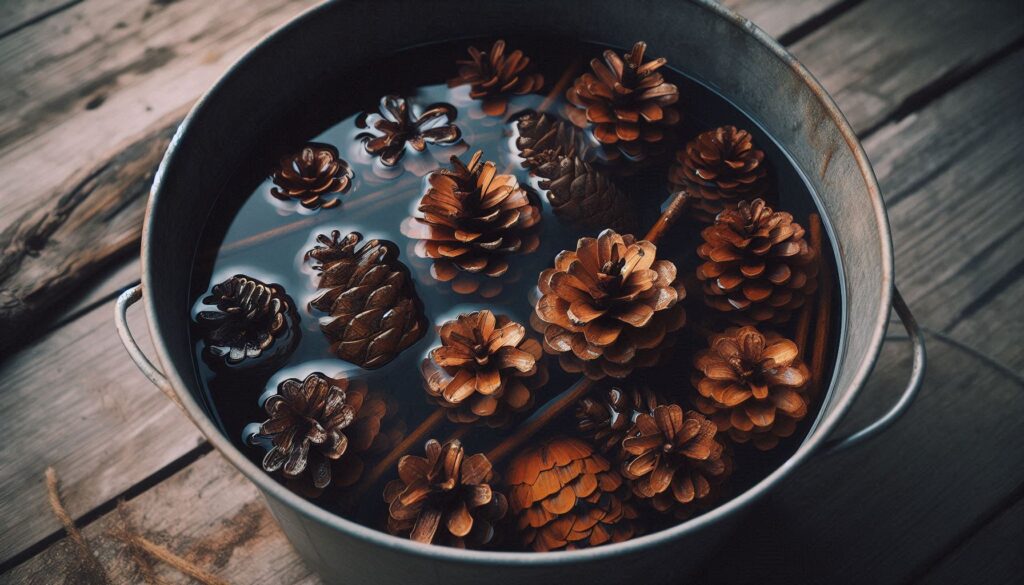
- Fill a large container with warm water.
- Add a mild detergent or dish soap, if desired.
- Submerge the pine cones completely.
- Let them soak for several hours or overnight.
- Remove the pine cones and rinse thoroughly with clean water.
2. Baking
Baking can help kill insects and remove stubborn dirt.
- Preheat your oven to 250°F (120°C).
- Place the pine cones on a baking sheet lined with parchment paper.
- Bake for 20-30 minutes, or until completely dry.
- Allow the pine cones to cool before handling.
3. Boiling
Boiling is a quick and efficient method, but it can be messy.
- Fill a large pot with water.
- Add the pine cones and bring the water to a boil.
- Boil for 5-10 minutes, or until the pine cones are clean.
- Drain the water and allow the pine cones to cool.
4. Natural Cleaning Agents
If you prefer a more eco-friendly approach, consider using natural cleaning agents:
- Vinegar: Combine equal parts vinegar and water. Soak the pine cones for 30 minutes, then rinse.
- Baking soda: Mix baking soda and water into a paste. Scrub the pine cones gently, then rinse.
Drying Pine Cones
After cleaning, it’s essential to dry the pine cones thoroughly to prevent mold and mildew.
- Air drying: This is the most common and recommended method. Place the pine cones in a well-ventilated area and allow them to dry naturally.
- Microwave drying: A quicker option, but use caution. Place the pine cones on a microwave-safe plate and heat in short intervals, checking them frequently to prevent overheating.
Additional Tips
- Removing insects and debris: Use a toothbrush or tweezers to remove any remaining insects or debris from the pine cones.
- Preserving pine cones: To prevent discoloration and fading, store the cleaned pine cones in a cool, dry place.
- Spraying with sealant: For added protection, consider spraying the pine cones with a clear sealant.
Cleaning pine cones is a simple and rewarding process that can enhance the beauty and longevity of your craft projects. By following these guidelines, you’ll be able to create stunning pine cone crafts that are sure to impress.
Remember: The key to successful pine cone cleaning is patience and attention to detail. With a little effort, you can transform ordinary pine cones into extraordinary crafting materials.
To learn more about using pine cones for your Autumn inspired crafts, be sure to read our post on Crafting with Autumn Inspired Natural Materials