There’s something incredibly rewarding about adding a personal touch to your home décor, and what better way to do that than by crafting your very own rustic wooden wall art? Not only does this project offer a sense of accomplishment, but it’s also budget-friendly and surprisingly easy to tackle. Whether you’re a seasoned crafter or a complete beginner, creating rustic wooden wall art is the perfect DIY project to infuse charm and warmth into any space. In this guide, we’ll walk you through everything you need to know to create your own stunning piece of rustic art.
Ready to get started? Let’s dive into this simple and satisfying project that’s perfect for DIY rustic wooden wall art for beginners.
Table of Contents
Why DIY Rustic Wooden Wall Art is the Perfect Beginner Project
If you’re new to DIY projects, you might feel a little intimidated at first. But creating rustic wooden wall art is one of the easiest and most rewarding projects you can undertake. Here’s why this DIY project is ideal for beginners:
1. Affordable Materials:
The beauty of rustic art is that it doesn’t require expensive materials. You can often find the wood you need for free or at a low cost by repurposing old wooden planks, using pallet wood, or even visiting your local hardware store for inexpensive offcuts.
2. Minimal Tools Needed:
You won’t need a workshop full of tools to complete this project. Simple items like sandpaper, paint, and a few brushes are more than enough to get started. For beginners, this makes the project less daunting and more approachable.
3. Gratifying and Fun:
The process of crafting your own art from scratch is incredibly gratifying. You get to personalize it to your tastes, which means you’ll end up with a piece that’s uniquely yours and that fits your home’s aesthetic perfectly. Plus, it’s just plain fun to let your creativity flow!
4. Relaxing and Therapeutic:
Many people find that working with wood and creating art is a therapeutic and relaxing experience. It’s a chance to unplug from your busy day and focus on something that brings joy and fulfillment.
Materials and Tools You’ll Need
Before you begin crafting your rustic wooden wall art, it’s important to gather the right materials and tools. Don’t worry—this project requires minimal supplies, and many items may already be in your home.
Here’s what you’ll need:
- Wooden planks or reclaimed wood – The size depends on the look you want to achieve. You can use smaller pieces for a multi-panel look or a single large plank for a bold statement.
- Paint or wood stain – Choose a color that fits the style of your home. A whitewash finish gives a more coastal look, while dark stains create a classic rustic vibe.
- Sandpaper (medium and fine grit) – To smooth out any rough edges and prepare the wood for painting or staining.
- Paintbrushes – You’ll need a variety of sizes, including a larger brush for painting the wood and smaller brushes if you plan to add designs or lettering.
- Painter’s tape – Helpful for marking off areas to create clean lines or patterns.
- Hanging hardware – Picture-hanging kits or D-ring hooks are great for securing your wall art.
- Optional: Stencils – If you’d like to add lettering or intricate designs but don’t trust your freehand painting skills, stencils can help keep things looking polished.
Budget Tip:
If you’re looking to save even more money, consider visiting a local lumber yard for wood offcuts or checking local online marketplaces for free or cheap reclaimed wood. This not only keeps costs low but also adds extra character to your project.
Step-by-Step Guide to Creating Rustic Wooden Wall Art
Now that you’ve gathered your materials, it’s time to start the project. Follow this step-by-step guide for DIY rustic wooden wall art for beginners to create a unique and beautiful piece of décor.
Step 1: Preparing Your Wood
Before you start painting or staining, it’s crucial to prep your wood properly. This ensures that the final product looks polished, even if you’re aiming for a rustic look.
- Sand the wood – Using medium-grit sandpaper, start sanding the surface of your wood to smooth out rough spots and splinters. Once you’ve removed the rough patches, switch to fine-grit sandpaper to give the wood a smoother finish while maintaining some of the rustic texture.
- Clean the surface – After sanding, wipe down the wood with a damp cloth to remove any dust or debris. Make sure the wood is completely dry before moving to the next step.
- Apply a base coat – If you plan to paint the wood, apply a base coat of paint or wood primer. This ensures that the final color pops and adheres well. For a more natural rustic look, you can skip this step and go straight to staining.
Step 2: Designing Your Wall Art
Once your wood is prepped, it’s time to get creative. Designing your rustic wooden wall art can be as simple or intricate as you like, and the options are nearly endless.
Some design ideas include:
- Simple distressed finish:
- Use a whitewash or light coat of paint and sand the edges for a worn, vintage look.
- Quotes or sayings:
- Choose your favorite quote or mantra, and either freehand it or use stencils to paint it onto the wood.
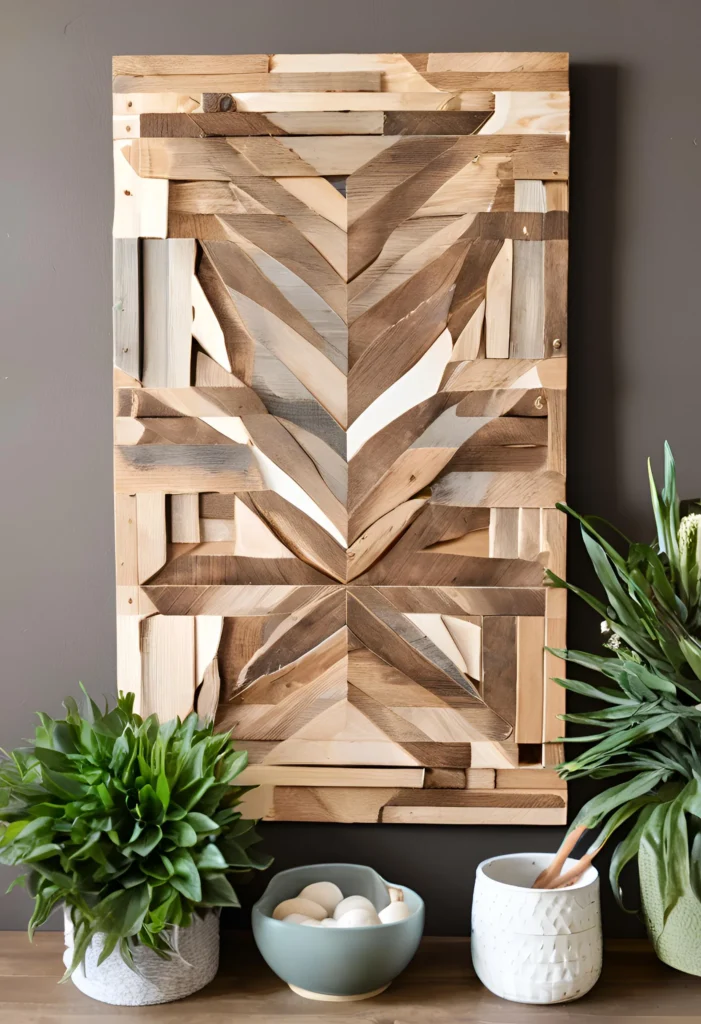
- Geometric patterns:
- Use painter’s tape to mark off sections of the wood and create clean lines. Paint these sections in contrasting colors for a modern yet rustic look.
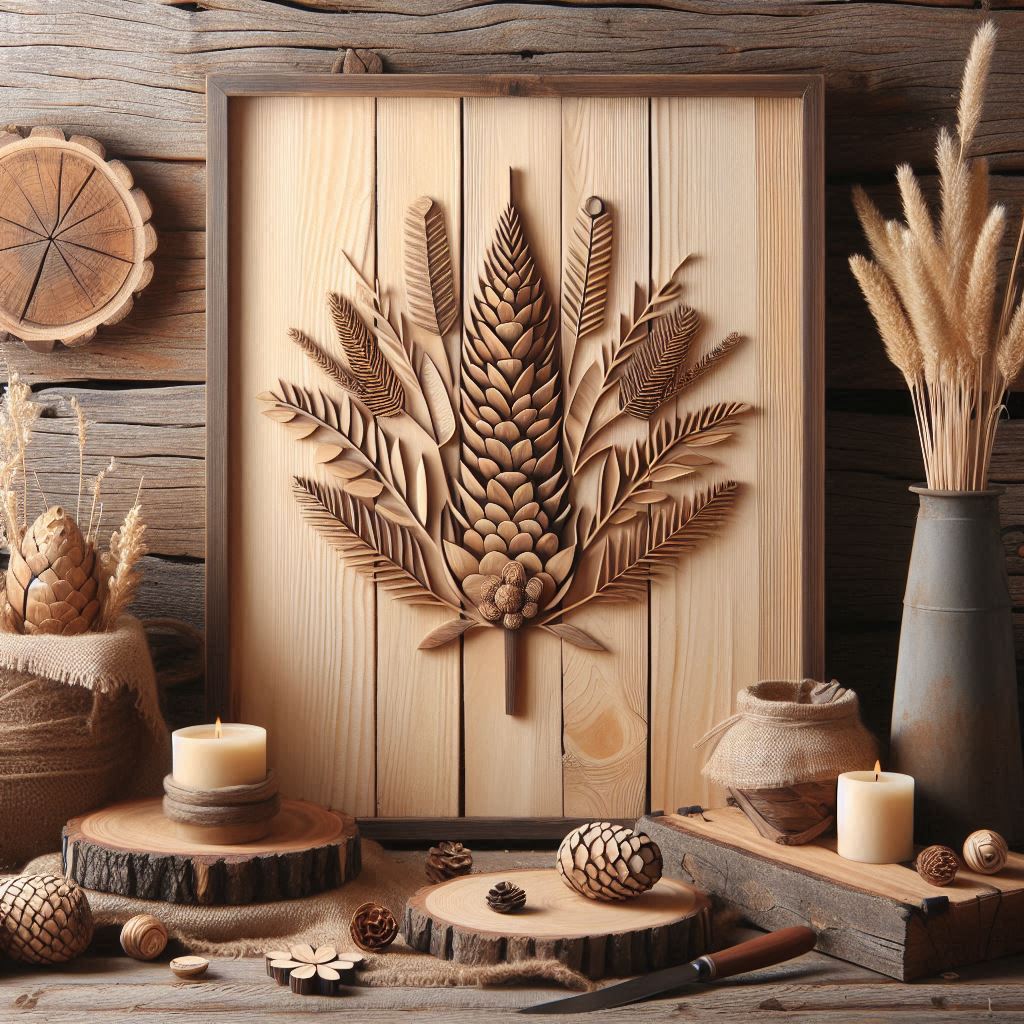
- Nature-inspired art:
- Incorporate leaf or floral designs by using stencils, or paint a silhouette of trees, mountains, or animals.
Design Tip:
Feel free to experiment! This project is about having fun and expressing yourself. Don’t be afraid to mix colors, try out different textures, or even combine several design ideas into one piece.
Step 3: Assembling and Hanging
Once you’re happy with your design, it’s time to finish the project by preparing it for display. Here’s how to do it:
- Add hanging hardware:
- If you’re using a larger piece of wood, attach D-ring hooks to the back of the plank. For smaller pieces, you can use picture wire or command strips.
- Decide on placement:
- Your new rustic wooden wall art will look great anywhere, but consider places where it will truly shine—above a mantel, in the entryway, or as part of a gallery wall. Position it at eye level for the best visual impact.
- Hang your art:
- Use a level to ensure the piece is straight, and secure it firmly to the wall with nails or picture hooks.
Assembly Tip:
If you’re creating a multi-panel piece, lay all the panels out on the floor before hanging to get an idea of the spacing and alignment. This helps avoid mistakes when mounting them on the wall.
Pro Tips for Nailing the Rustic Look
Getting that perfect rustic aesthetic is all about embracing imperfections while adding intentional design elements. Here are a few tips to help you achieve the best results:
- Distressing the wood:
- Use sandpaper or a wire brush to rough up the edges and surface of the wood. You can also tap the wood with a hammer or screws to add small dents, which enhance the worn look.
- Layering paint or stain:
- Apply one coat of paint, then lightly sand it before adding a second color. This creates a layered, weathered effect that adds depth and character to your piece.
- Mixing materials:
- Add elements like twine, burlap, or small metal pieces to give your art extra texture and a more rustic feel.
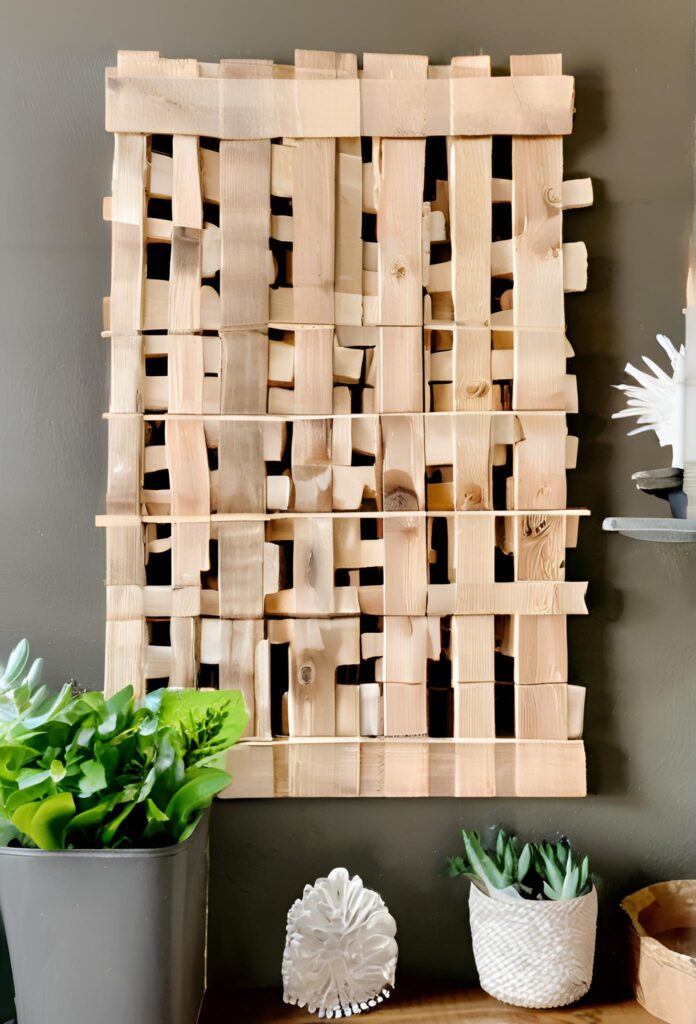
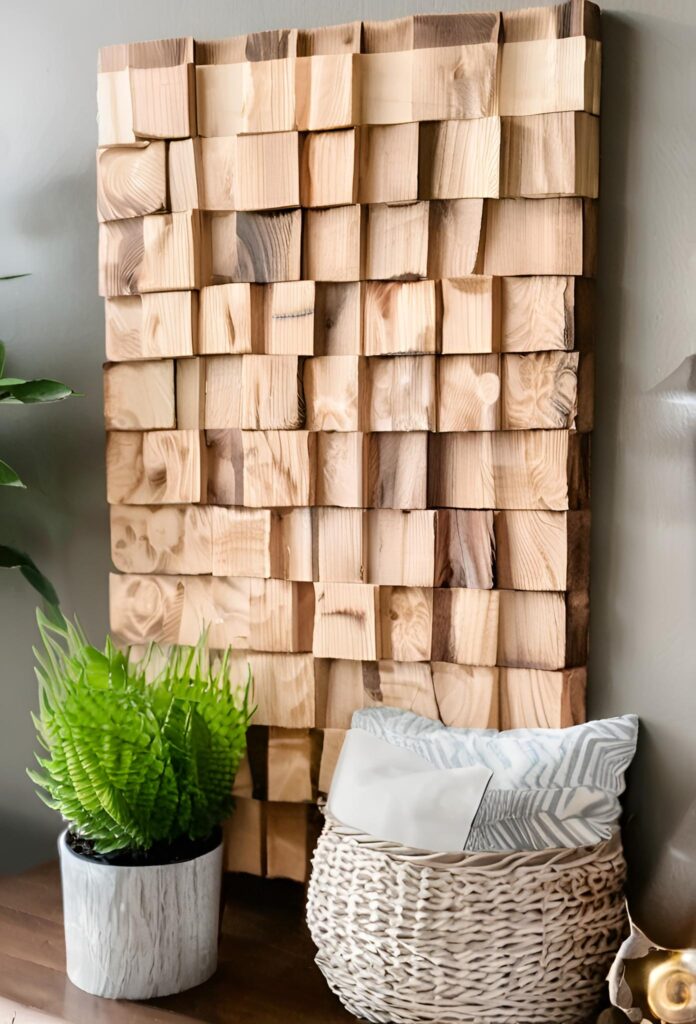
- Use natural wood grain:
- Sometimes, the natural beauty of the wood grain is all you need. Highlight it by using a clear stain or varnish, letting the wood’s natural patterns shine through.
Final Thoughts: The Joy of Crafting Your Own Rustic Wall Art
At the heart of any great DIY project is the satisfaction that comes from creating something with your own hands. DIY rustic wooden wall art for beginners is the perfect project to get started, offering the chance to personalize your space with a piece of art that’s truly one-of-a-kind. Whether you opt for a simple distressed look or a more intricate design, the process is fun, affordable, and incredibly rewarding.
So, what are you waiting for? Gather your materials, roll up your sleeves, and get crafting! And don’t forget to share your creations with friends or on social media—you never know who might be inspired by your handiwork.
Looking for more beginner-friendly DIY projects? Check out our blog for more inspiration, and don’t forget to subscribe for updates on the latest posts! You’ll also find handy affiliate links to all the tools and materials you need to complete this project. Happy crafting!