If you’re looking for an affordable way to transform old furniture into something fresh and stylish, look no further than chalk paint. This beginner-friendly paint has taken the DIY world by storm for its ease of use, minimal prep requirements, and ability to create stunning results with little effort.
In this DIY Chalk Paint Dresser Step-by-Step Guide, we’ll walk you through everything you need to know to turn a tired old dresser into a chic, personalized statement piece. Whether you’re a first-timer or a seasoned DIYer, you’ll find this process easy, fun, and gratifying.
Table of Contents
Why Use Chalk Paint?
Chalk paint is a game-changer for DIY furniture makeovers. Here’s why:
1. No Need for Sanding or Priming
Unlike traditional paints, chalk paint adheres easily to most surfaces without the need for intensive prep work. This makes it perfect for beginners.
2. Beautiful Matte Finish
Chalk paint offers a soft, matte finish that gives furniture a unique and elegant look.
3. Quick-Drying and Easy to Use
Because chalk paint dries quickly, you can finish your project in a day or two. It’s also forgiving, so even beginners can achieve professional-looking results.
4. Budget-Friendly
Revamping furniture with chalk paint is far cheaper than buying new pieces or hiring a professional.
Tools and Materials You’ll Need
Before you begin, gather these tools and materials:
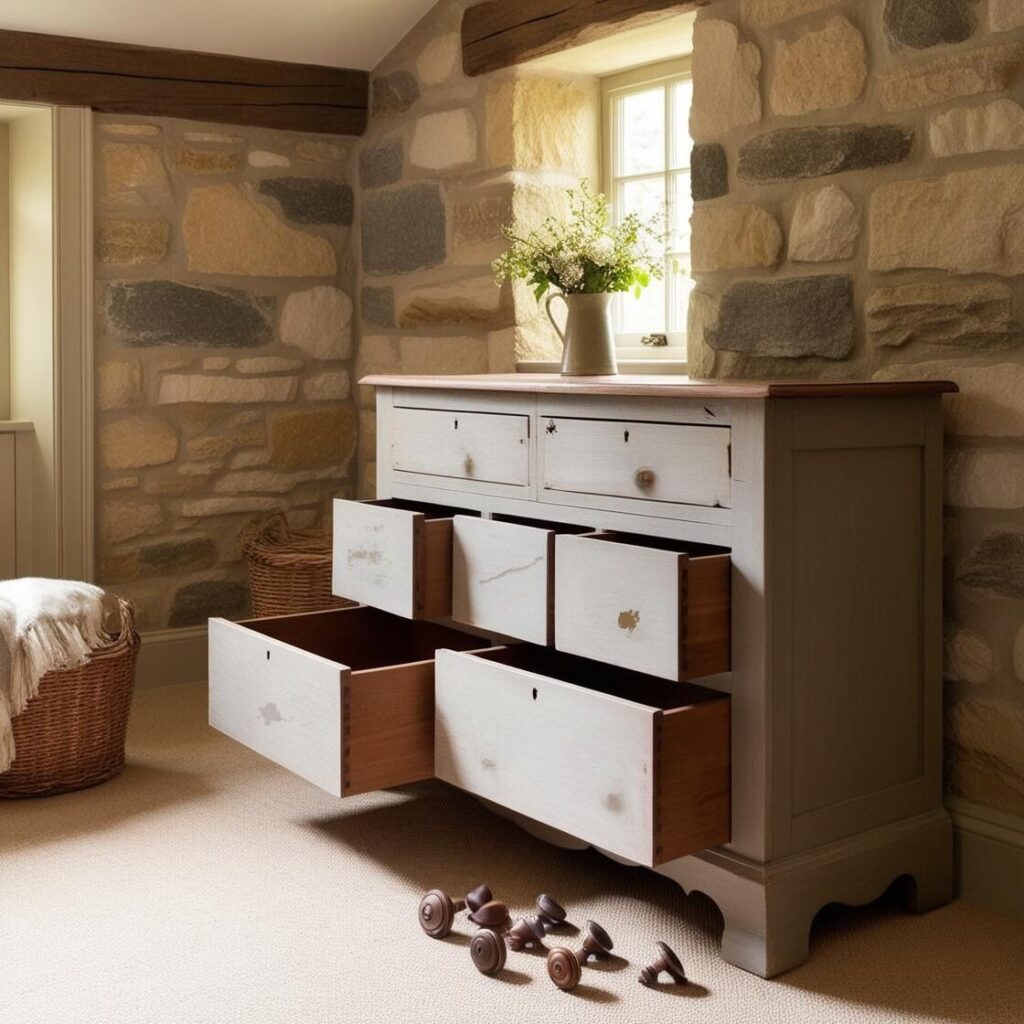
- Dresser: Look for a solid, sturdy piece.
- Chalk Paint: Choose a color that suits your style (affordable options include Rust-Oleum and Annie Sloan).
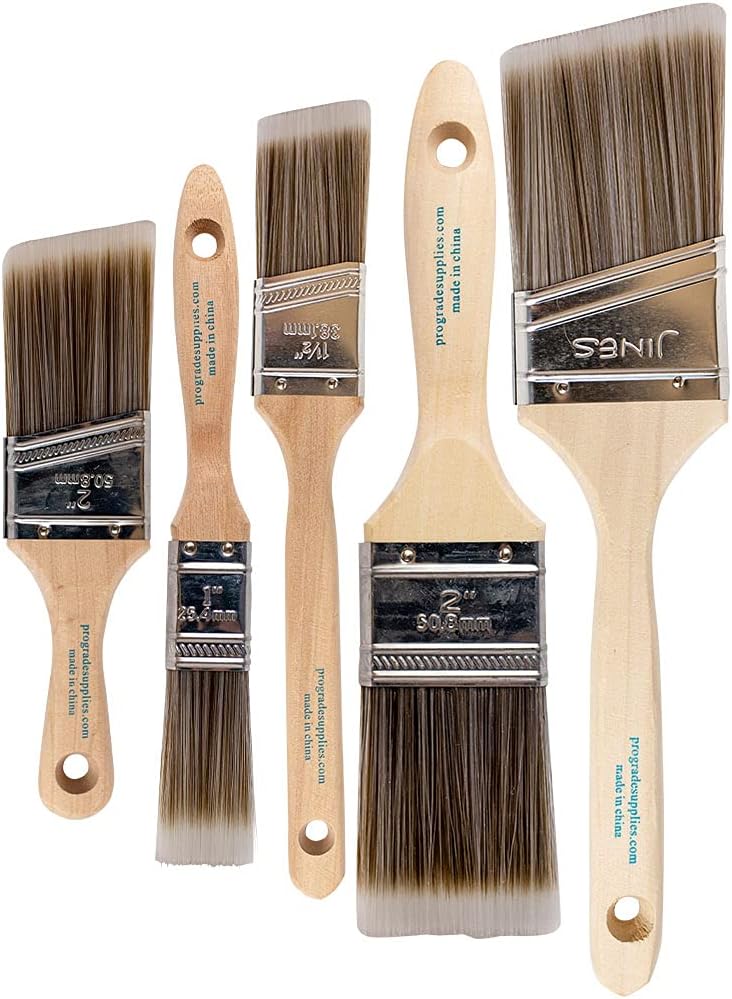
- Paint Brushes: Opt for high-quality brushes to avoid streaks.
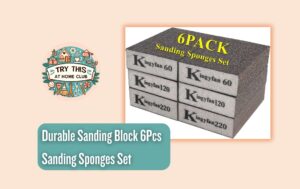
- Sandpaper: For distressing or smoothing.
- Cleaning Supplies: Dish soap, water, and a rag.
- Clear Wax or Topcoat: To seal and protect the finish.
- Drop Cloth: Protect your workspace from spills.
- Optional: Painter’s tape, new hardware (e.g., knobs or handles).
DIY Chalk Paint Dresser: Step-by-Step Instructions
1. Prep Your Dresser
A little preparation goes a long way to ensure smooth, long-lasting results.
- Clean the Surface: Wipe down the dresser with soapy water to remove dirt and grease. Let it dry completely.
- Remove Hardware: Take off drawer knobs and handles for easy access to all surfaces.
- Repair Any Damage: Fill dents or holes with wood filler and sand smooth.
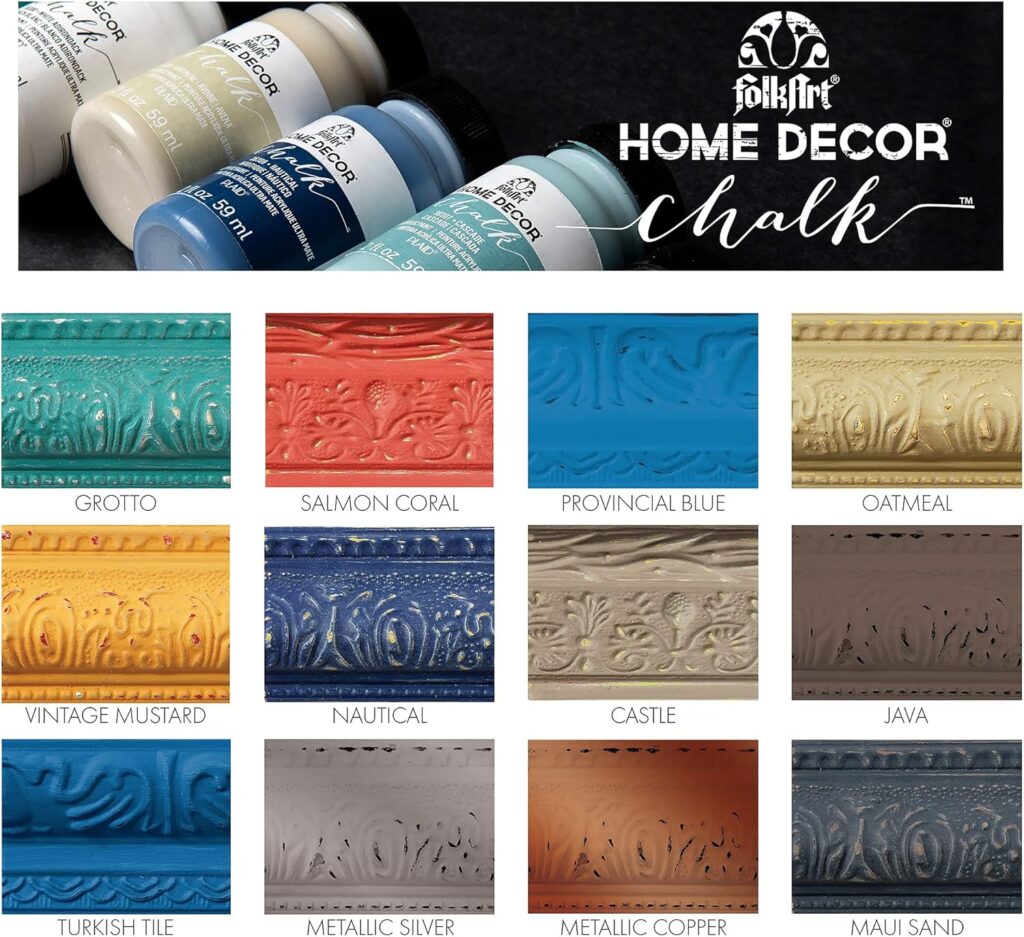
2. Choose Your Chalk Paint Color
Selecting the right color sets the tone for your project. Consider these tips:
- For a modern look, go with neutral tones like white, gray, or black.
- For a playful, vibrant vibe, try pastel shades like mint or blush.
- For a rustic or farmhouse feel, muted earth tones work beautifully.
3. Apply the First Coat of Chalk Paint
Now comes the fun part—painting!
- Stir the Paint: Mix the chalk paint thoroughly to ensure even consistency.
- Start with Light Strokes: Use a brush or foam roller to apply a thin, even coat. Work in the direction of the grain.
- Let It Dry: Allow the first coat to dry for at least 1–2 hours.
4. Apply a Second Coat
Most projects require two coats for full coverage.
- Apply the second coat just like the first, ensuring smooth, even strokes.
- Inspect for missed spots and touch them up as needed.
- Let the dresser dry completely before proceeding.
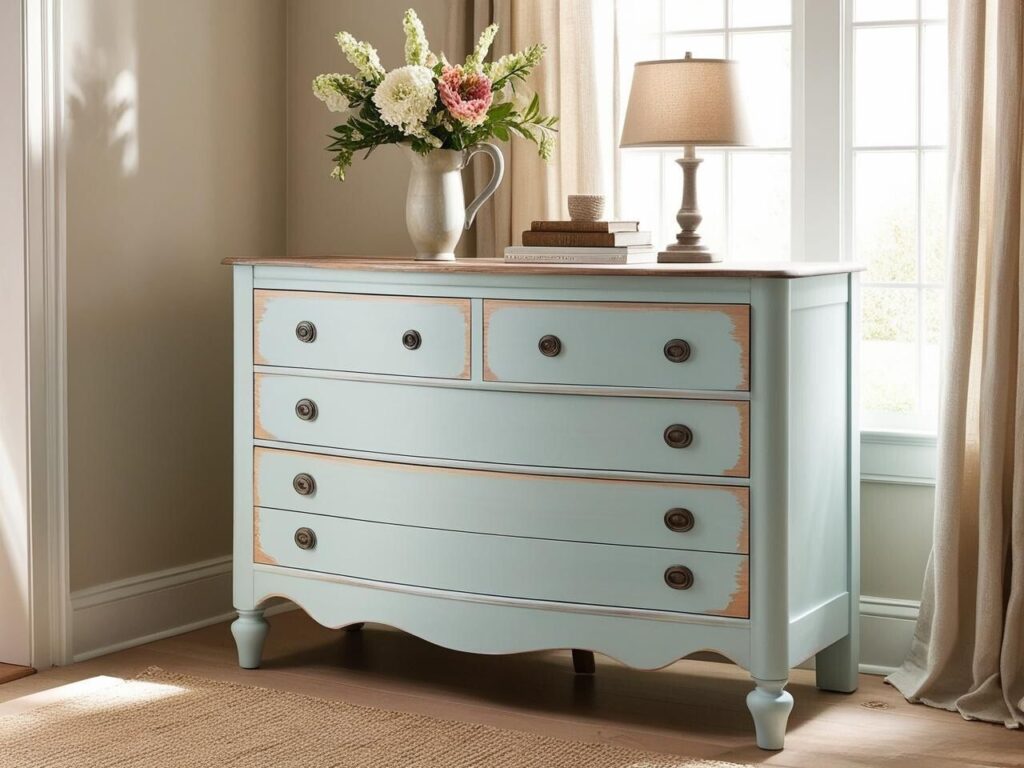
5. Optional: Distress the Dresser
For a rustic or shabby chic look, distressing is a great technique.
- Use sandpaper (120-220 grit) to gently sand edges, corners, or other areas where natural wear would occur.
- Distress sparingly to maintain a balanced look.
6. Seal the Paint
Sealing is essential to protect your chalk paint finish from scratches and wear.
- Apply Clear Wax: Use a clean cloth or brush to spread the wax evenly over the painted surface. Buff it in small circular motions.
- Topcoat Alternative: For a more durable finish, especially for high-use furniture, apply a clear polyurethane topcoat.
Tips for a Successful Chalk Paint Project
1. Start with a Simple Piece
Choose furniture with clean lines for your first project. Dressers with intricate details can be more challenging.
2. Test Paint in a Small Area
Test the paint on the back or an unseen area of the dresser to ensure you like the color and finish.
3. Work in a Well-Ventilated Space
Chalk paint and sealants can release fumes, so make sure your workspace is airy.
4. Don’t Rush
Allow ample drying time between coats and before sealing. Patience ensures a flawless finish.
Before and After: Your Dresser Transformation
One of the most rewarding parts of using this DIY Chalk Paint Dresser Step-by-Step Guide is seeing the transformation unfold.
- Before: Take a photo of your dresser before you start.
- After: Compare it to the finished product. The difference is sure to amaze you!
Share your results with friends or on social media to inspire others to try their own chalk paint projects.
Common Mistakes and How to Avoid Them
Even the best DIYers can run into challenges. Here are some common issues and how to fix them:
- Uneven Paint Coverage
- Solution: Apply thinner coats and build coverage gradually.
- Visible Brush Strokes
- Solution: Use a high-quality brush or foam roller for smoother application.
- Peeling Paint
- Solution: Clean and dry the surface thoroughly before painting.
- Sticky Finish After Waxing
- Solution: Buff the wax properly and allow it to cure fully.
Start Your Chalk Paint Journey Today!
Transforming your furniture with chalk paint is not only easy and affordable but also incredibly gratifying. With this DIY Chalk Paint Dresser Step-by-Step Guide, you have everything you need to create a stunning dresser makeover that reflects your personal style.
So, what are you waiting for? Grab your brushes, pick your favorite chalk paint color, and start your DIY adventure today. Don’t forget to share your before-and-after photos in the comments—we’d love to see your creations!
This project is more than just painting; it’s a creative journey that brings new life to your old furniture and adds a touch of charm to your space. Happy painting!
Related Article: